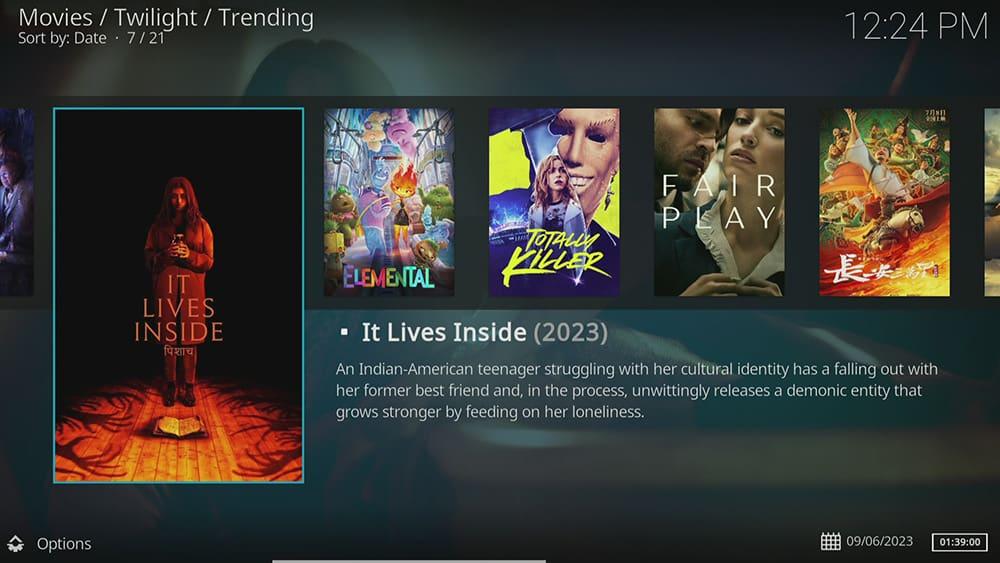
With the help of this guide, you can easily install and use the Twilight Kodi addon. Before you start, you must have Kodi installed on your device. If you still need to install Kodi, you can click here to do so.
Kodi is compatible with almost all devices, including Firestick, Fire Cube, Nvidia Shield, Android box, Chromecast, phones, tablets, PCs and more. This guide demonstrates the installation process on a Fire TV Stick 4K MAX, but the steps are similar for other devices.
The Amazon Firestick, a top contender in the streaming device market, is particularly popular for its affordability and the ease with which it can be jailbroken. With just a few straightforward adjustments, you can unlock its full potential, making it an attractive option for those looking to break free from traditional cable TV.
Table of Contents
What is the Twilight Kodi Addon?
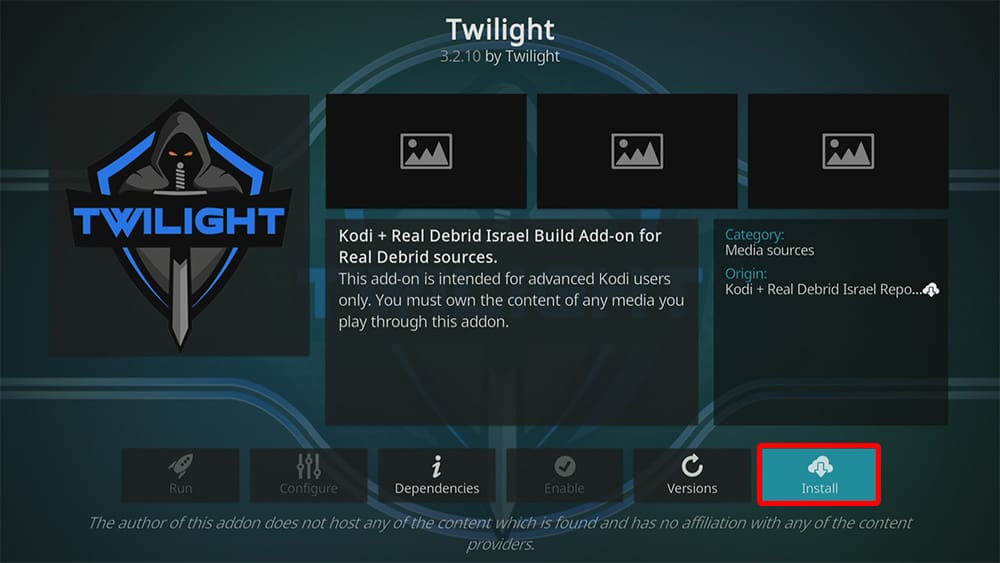
If you’re a fan of movies and TV shows, there’s good news for you! The Twilight Kodi addon is a lightweight, powerful clone of the popular Fen addon. It’s a premium addon for watching movies and TV shows and requires a premium service like Real Debrid to work correctly.
You can find it in the Kodi + Real Debrid Israel Repository.
Being a video-on-demand addon, it offers many on-demand movies and TV shows, including new releases and recently aired episodes.
This addon is compatible with Trakt, a useful tool for synchronising your favourite movies, shows, watchlists and more across multiple devices and applications. With Trakt, you can easily stay on top of what you’re watching and never miss an episode!
To ensure that the addon works properly, it's essential to follow all of the installation steps carefully and thoroughly.
| Compatability | Kodi 20 Nexus and Kodi 19 Matrix |
| Repository URL | https://kodi7rd.github.io/repository/ |
| Type of Addon | Video-on-demand |
| Content | Movies, TV Shows |
| Free Sources | ⛔ No |
| Premium Sources | Real Debrid and others |
| Trakt Support | ✅ Yes |
Is the Twilight Addon Legal?
Yes, it certainly is! This addon does not host any content and is essentially just a search engine. It is, therefore, 100% legal to install. However, most links scraped from databases and websites are unlikely to hold the proper licencing for distributing the content. In reality, this means you will be unlawfully streaming copyrighted content. Doing so could get you into legal trouble. Accordingly, you may prefer to use this addon with a VPN.
WARNING YOUR IP ADDRESS IS: 107.20.255.194
In order to stream anonymously, stay protected, and unlock the internet, I recommend using NordVPN.
WARNING YOUR IP ADDRESS IS: 107.20.255.194
In order to stream anonymously, stay protected, and unlock the internet, I recommend using NordVPN.
Legal Copyright Disclaimer: As has been noted, streaming copyrighted content is unlawful and could get you into legal trouble. On account of this, we do not condone the streaming of copyrighted content. Therefore, check your local laws for streaming content online before doing so. Consequently, the information on this website is for general information and educational purposes only.
How to Install the Twilight Addon
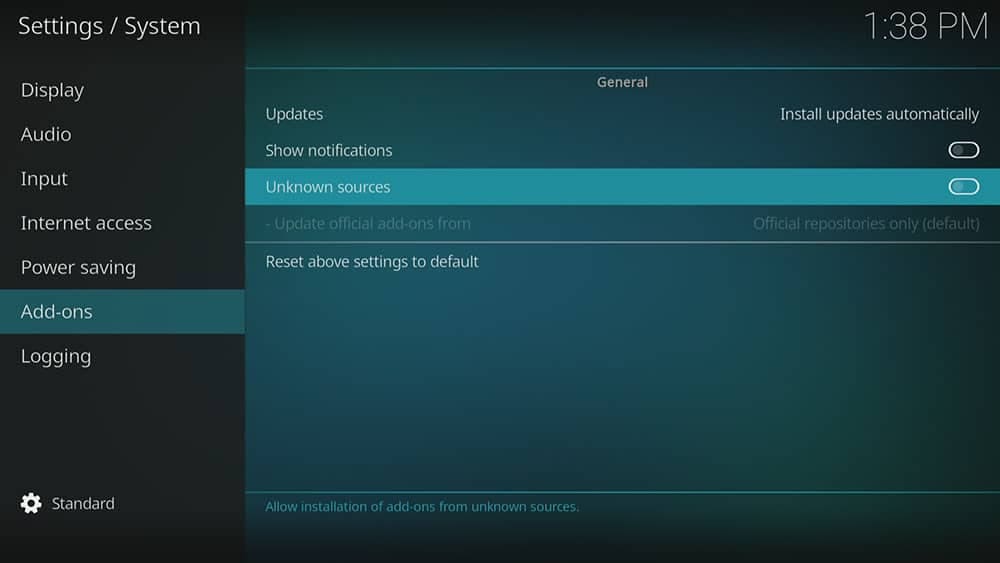
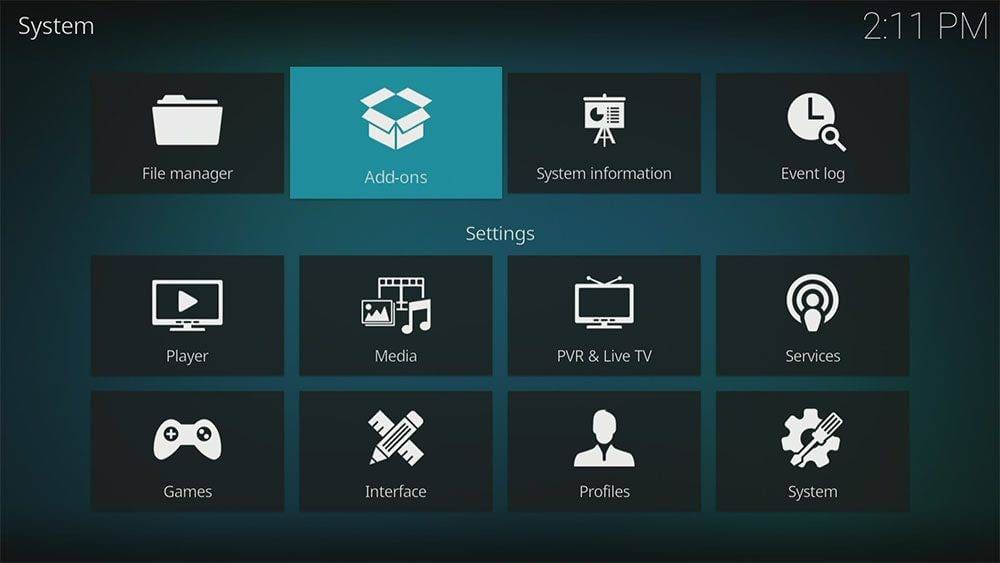
The Twilight addon can be installed by following the steps below. Before you start, please ensure you have installed Kodi on your device. You’ll also need to change the Kodi settings to allow the installation of addons from unknown sources. If you have already changed this setting, you can go to the next section to Install Kodi + Real Debrid Israel Repository.
Unknown Sources
- Open Kodi, then select Settings (cog icon).
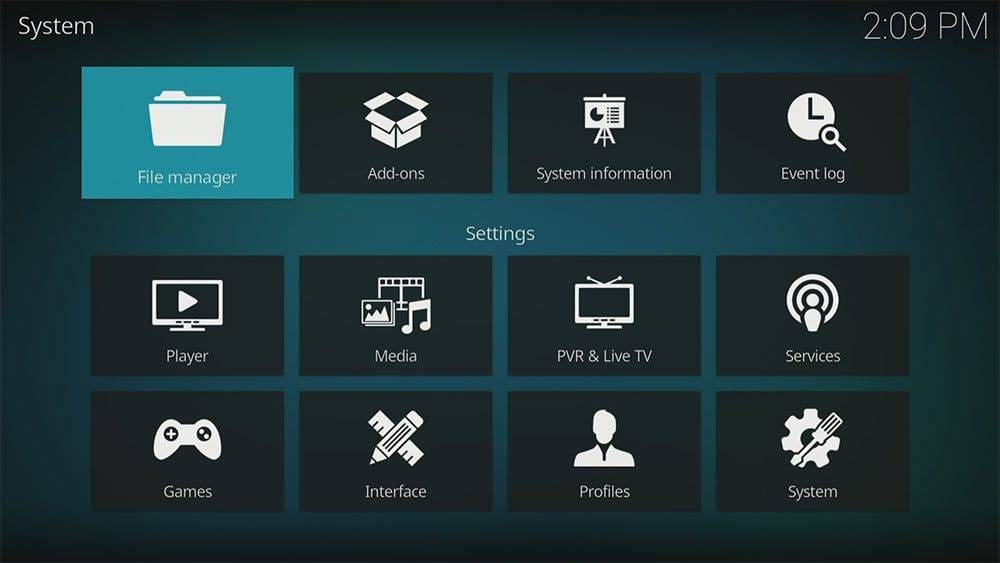
- Select System.
- Tap down the menu on the left so that Add-ons is highlighted.
- Tap to the right, then select the Unknown sources toggle to turn it on.
- Read the warning, then select Yes.
- Press the back button on your remote in order to return to the System menu.
You can now install unofficial or 3rd party addons!
Install Kodi + Real Debrid Israel Repository
The Twilight addon can presently be found in the Kodi + Real Debrid Israel Repository. Install the repository by following the steps below. If you already have the repo installed, you can skip to the next section to Install the Twilight Addon.
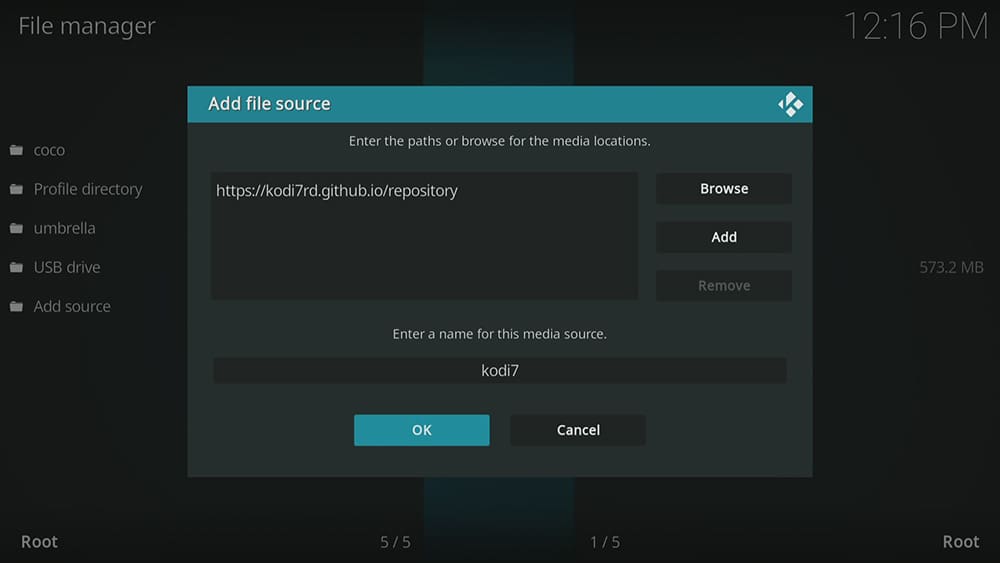
- Then select Add source.
- Select the box labelled < None >.
- Then enter the following URL exactly as you see it: https://kodi7rd.github.io/repository/
- Select OK.
- Tap down, then select Enter a name for this media source.
- Enter kodi7 or any other name you’d rather use to identify this media source.
- Then select OK.
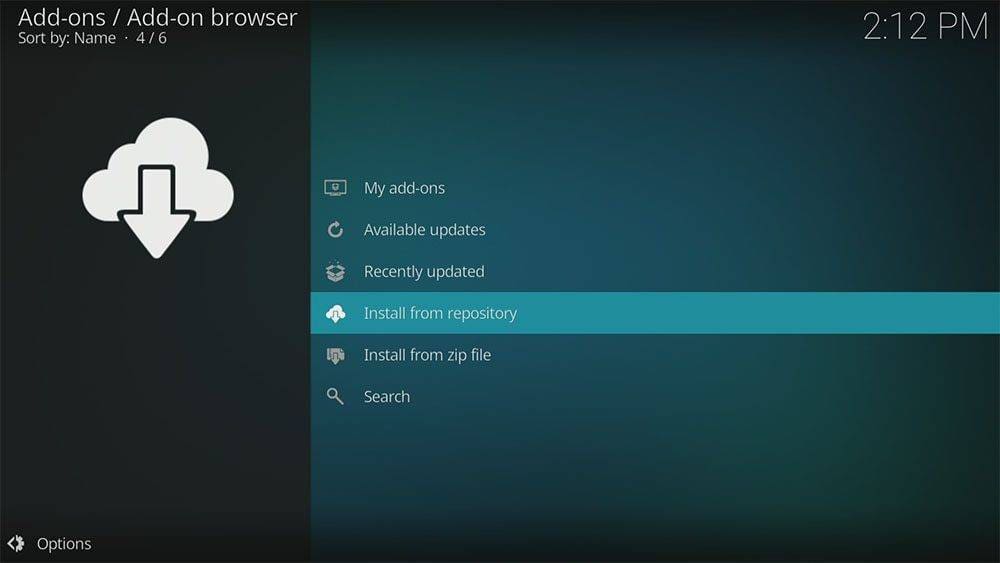
- Select Install from zip file, then select Yes if you get a warning message on the screen.
- Tap down, then select kodi7 (or any other name you used to identify this media source).
- Then select the zip file repository.KodiRealDebridIsrael-x.x.x.zip
- Select OK.
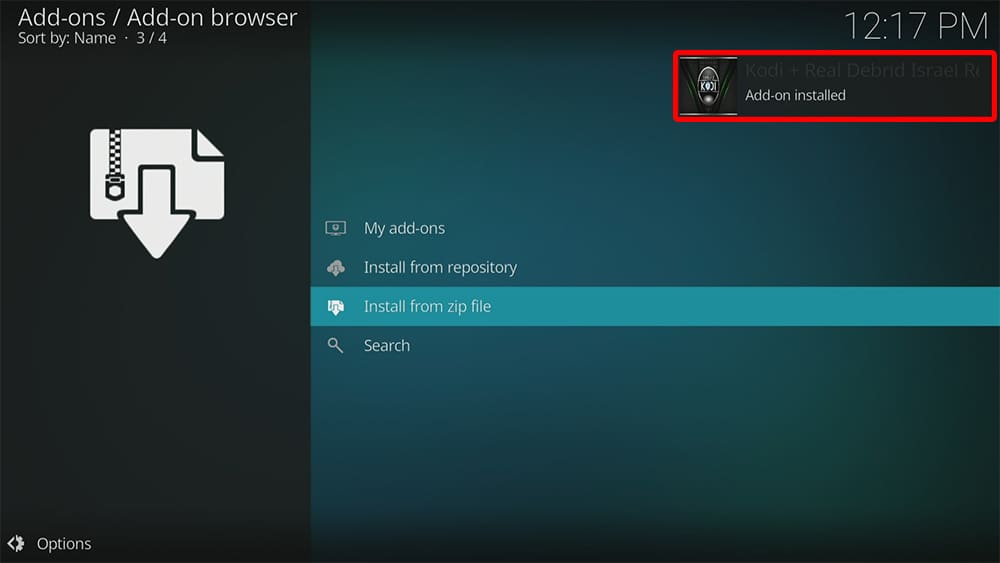
- Wait until a confirmation message appears in the top-right corner of the screen that the installation is complete.
The Kodi + Real Debrid Israel Repository has been successfully installed!
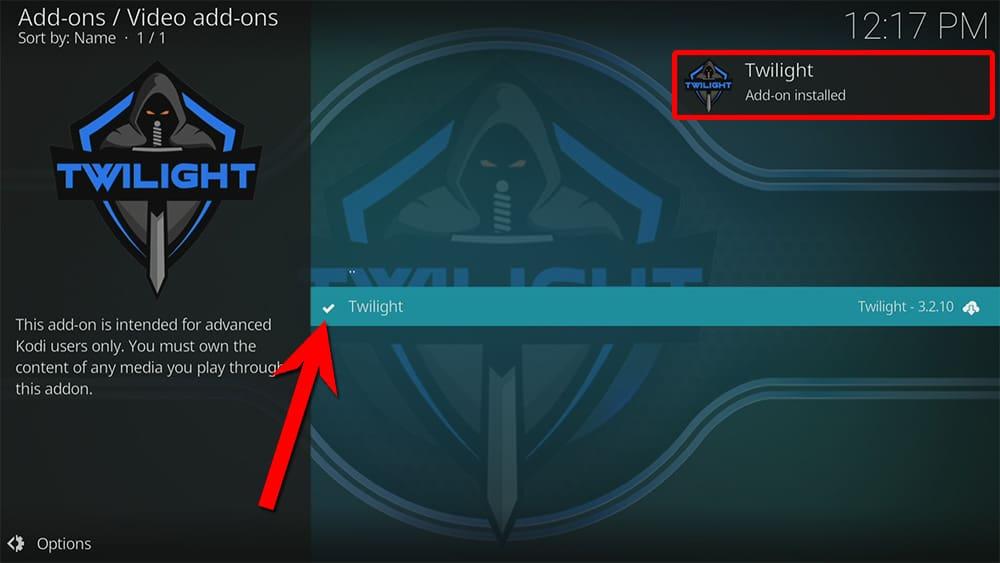
Install the Twilight Addon
Once you have installed the repository, any addon within it can easily be installed with just a few more steps. The Twilight addon can be installed by following the steps below.
Add an External Scraper for Links
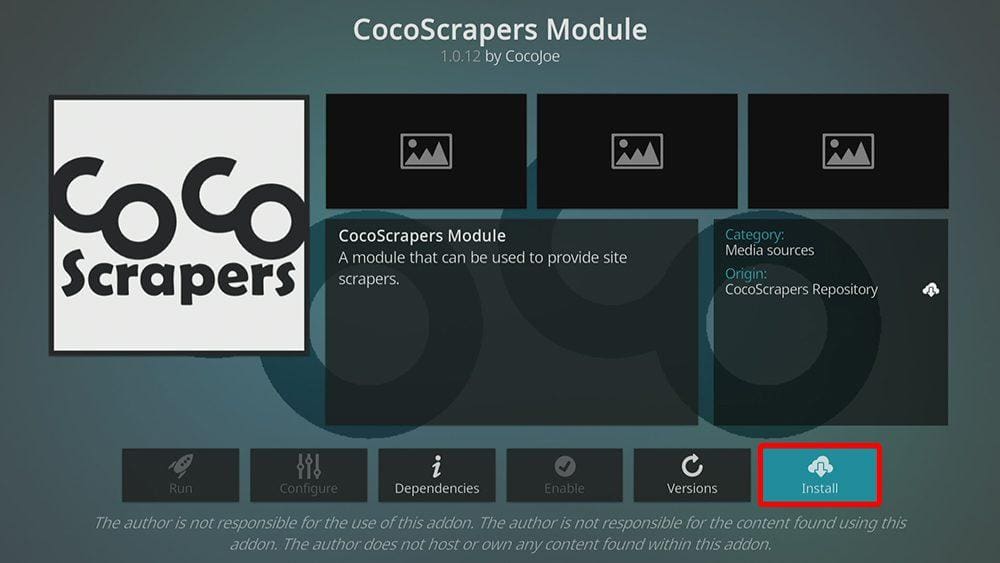
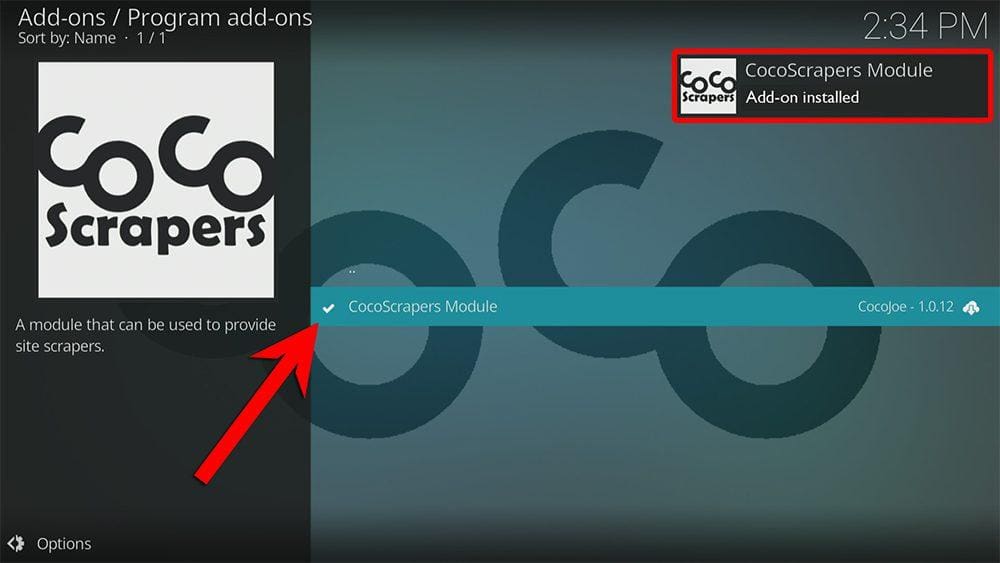
Before you can use the Twilight addon, it requires some additional effort to set up. You must install an external scraper to get it up and running correctly. The following steps will guide you on installing the CocoScrapers module that will provide links within the Twilight addon.
Install the CocoScrapers Repository
- Then select Add source.
- Select the box labelled < None >.
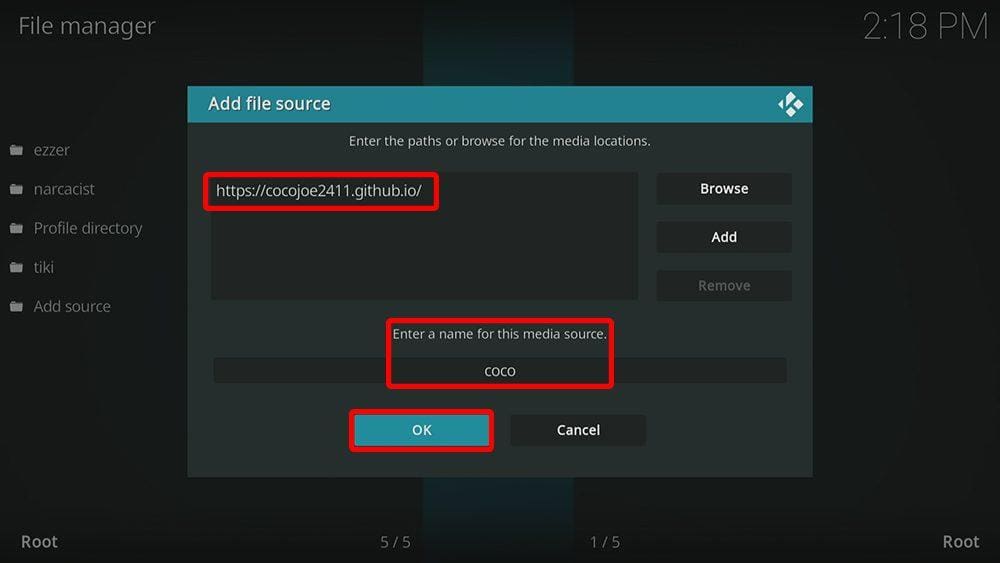
- Then enter the following URL exactly as you see it: https://cocojoe2411.github.io
- Select OK.
- Tap down, then select Enter a name for this media source.
- Enter coco or any other name you’d rather use to identify this media source.
- Then select OK.
- Select Install from zip file, then select Yes if you get a warning message on the screen.
- Tap down, then select coco (or any other name you used to identify this media source).
- Then select the zip file repository.cocoscrapers-x.x.x.zip
- Select OK.
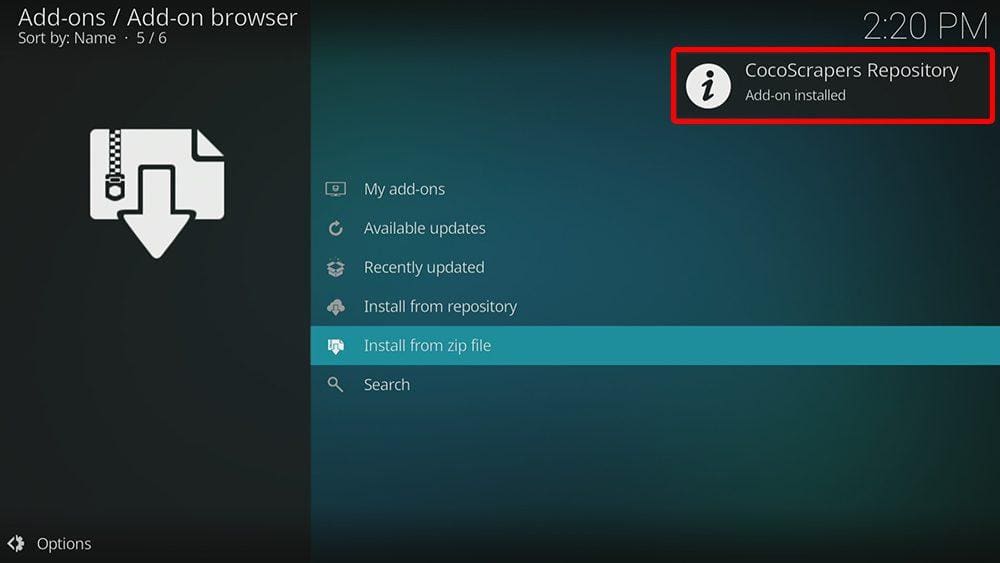
- Wait until a confirmation message appears in the top-right corner of the screen that the installation is complete.
CocoScrapers Repository is successfully installed!
Install the CocoScrapers Module
Link Real Debrid to the Twilight Addon
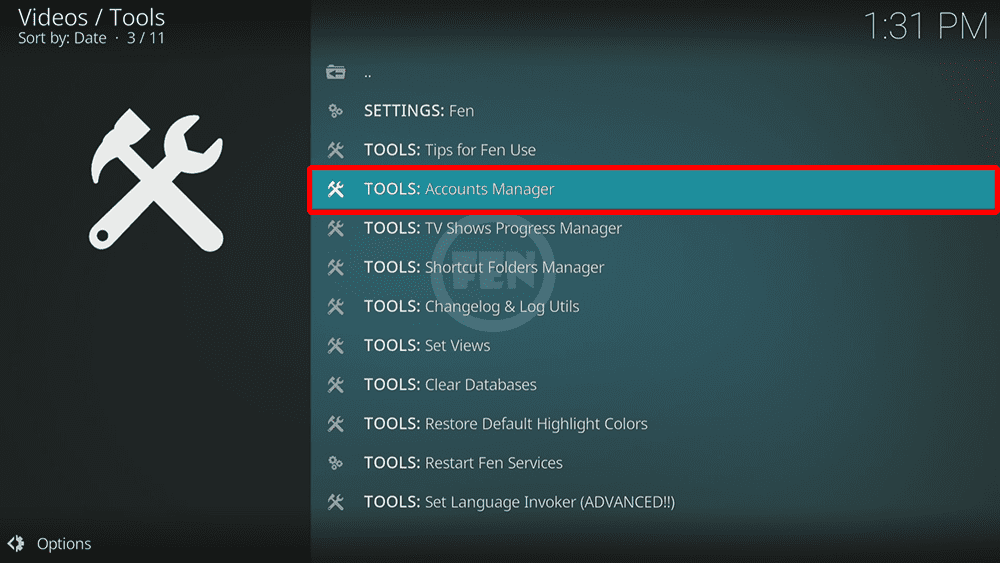
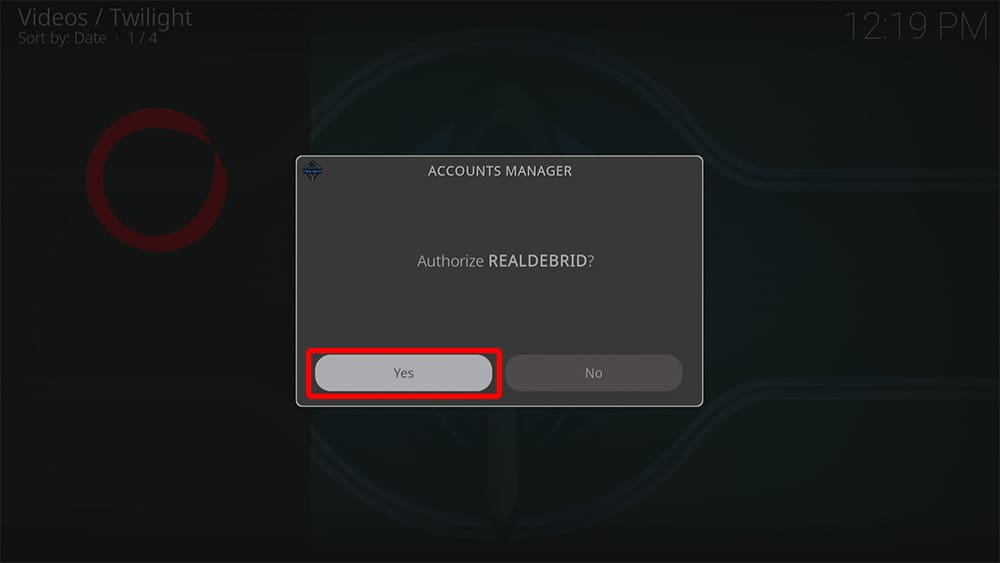
As mentioned, Twilight only works with a premium account such as Real Debrid. You can find out how to link your Real Debrid account to the Twilight addon by following the steps below.
Need to create a Real Debrid Account? Click here to register.
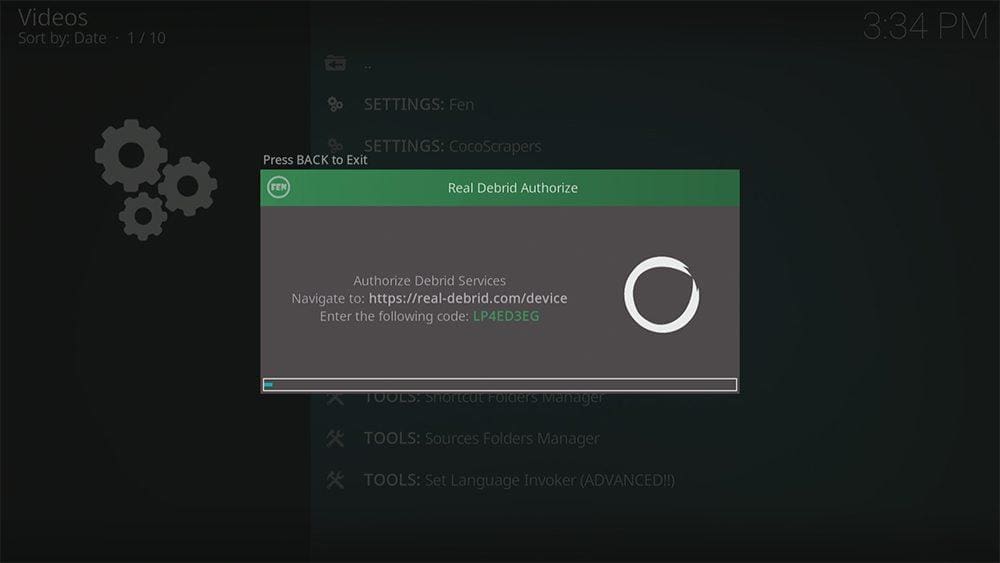
- Note the code displayed on the screen, as you’ll need it later.
- Open a web browser, then go to real-debrid.com/device.
- Login to your Real Debrid account if not already logged in.
- Enter the code that you made a note of earlier.
- Then select Continue.
- Your Real Debrid account is now linked, and a Success message will appear in Kodi. Select Yes to continue.
Congratulations! The setup for the Twilight Kodi addon is now fully complete.
How to Use the Twilight Kodi Addon
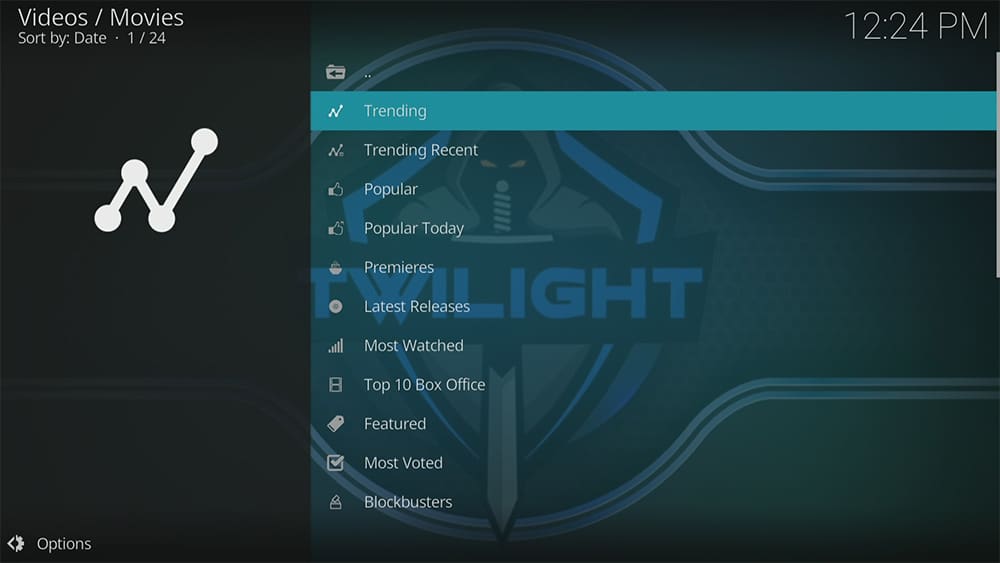
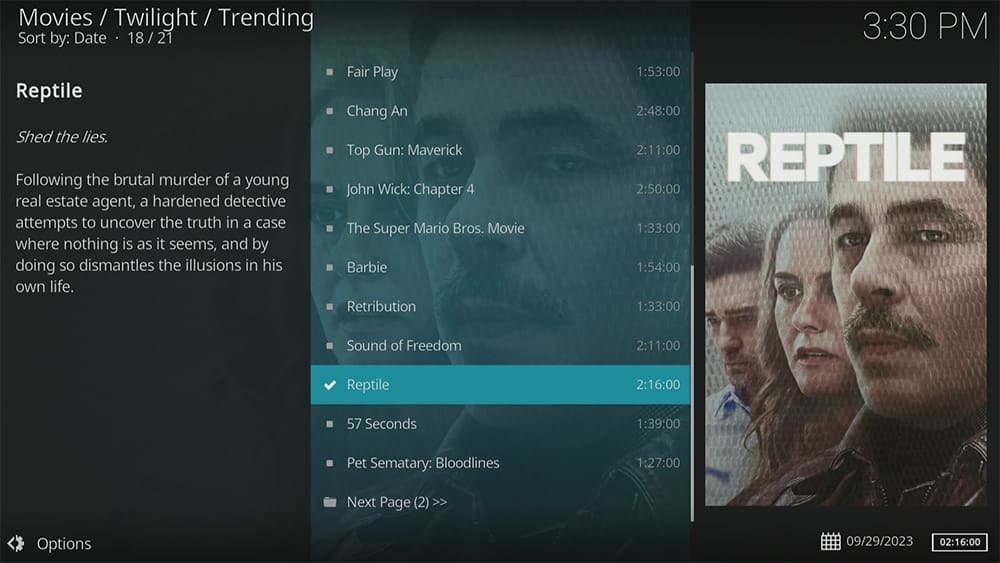
Once you’ve installed the Twilight addon, linked your premium account, and added an external scraper, it’s easy to browse the categories to find the movie or TV show you want to watch. There’s also a search option to see a specific movie or show.
You can find out how to start streaming videos from the Twilight Kodi addon by following the steps below.
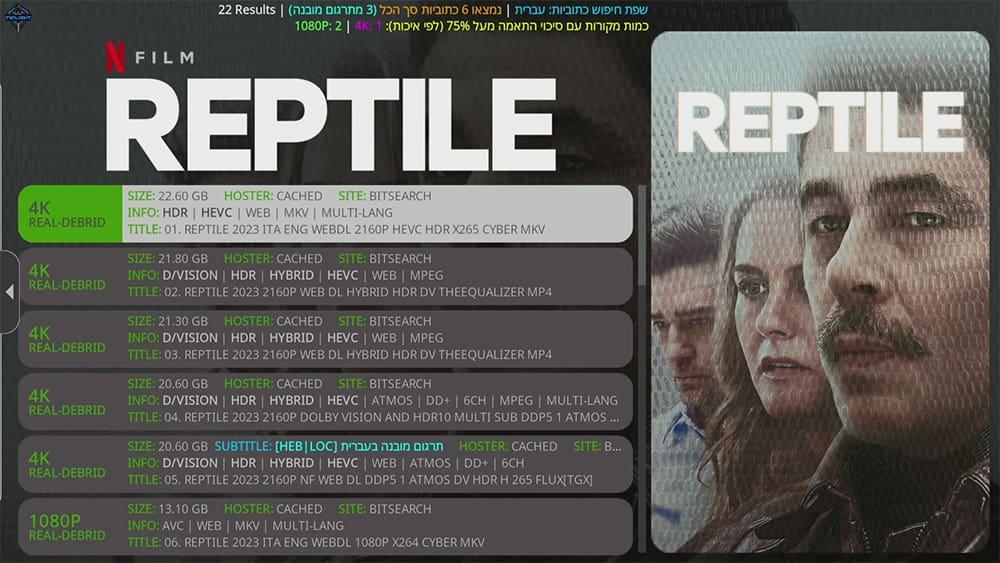
- The addon will then start scraping links from premium providers.
- Select a link to start streaming, then sit back and enjoy!
If you prefer to watch with subtitles, check out my guide: How to Add Subtitles to Kodi.
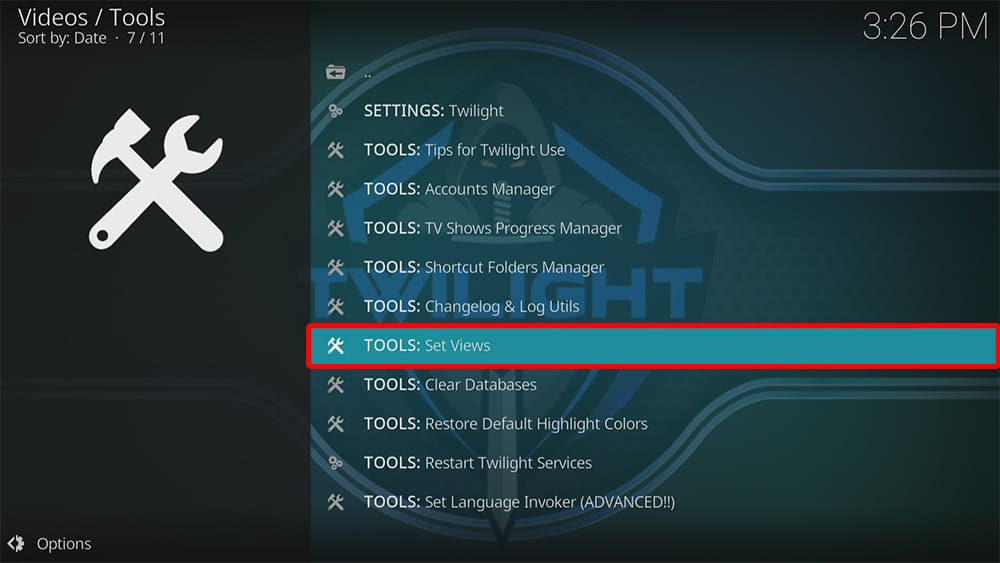
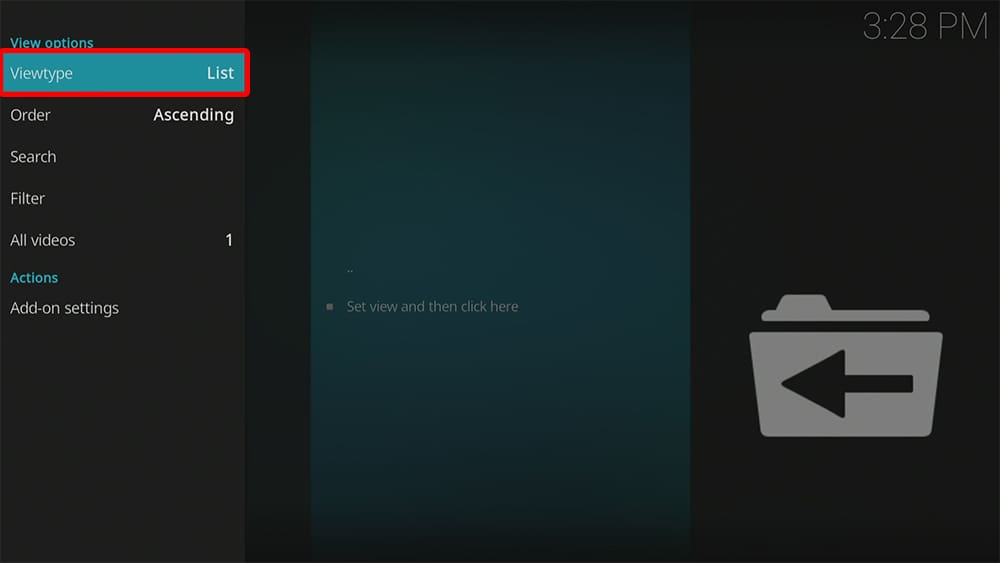
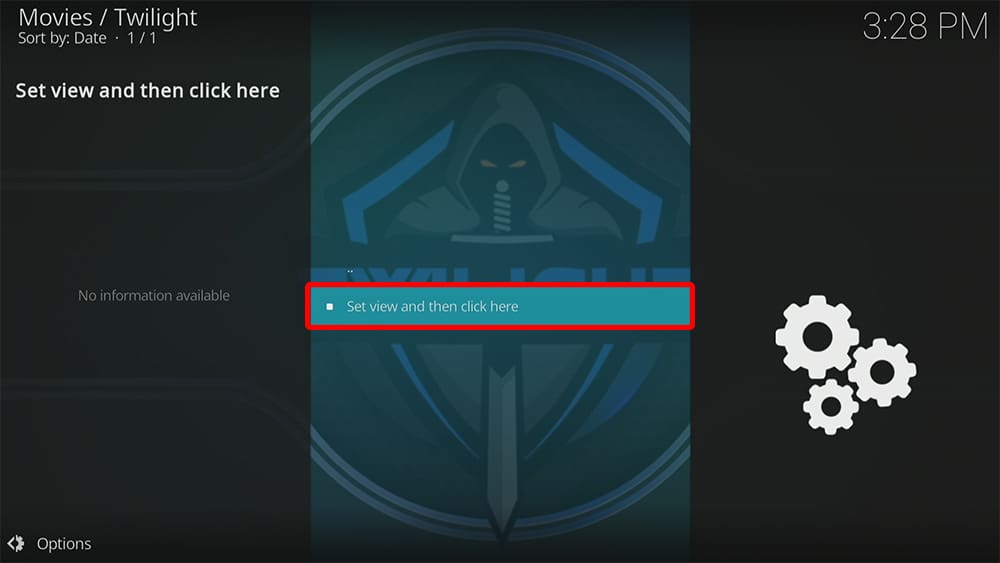
Change Layout of the Twilight Addon
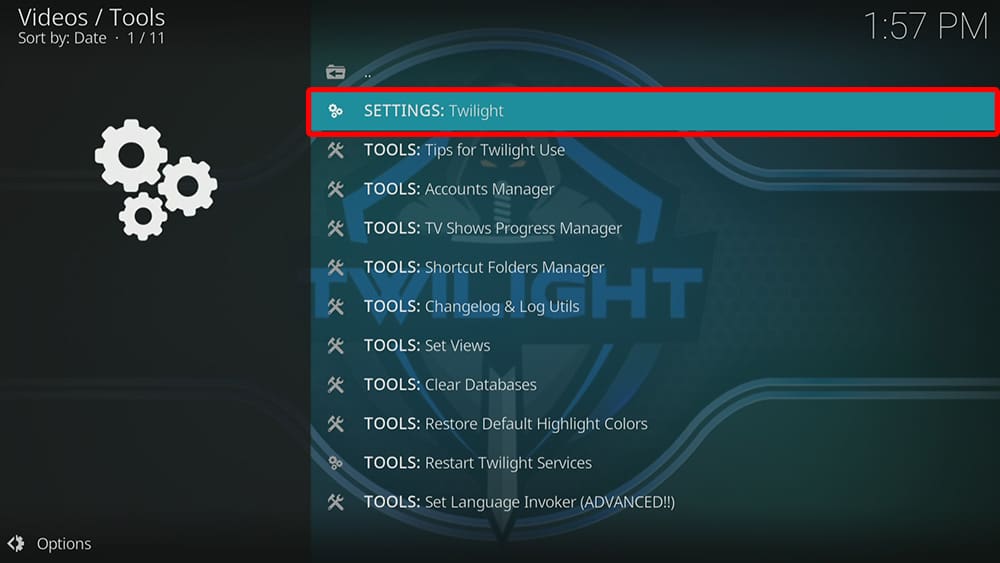
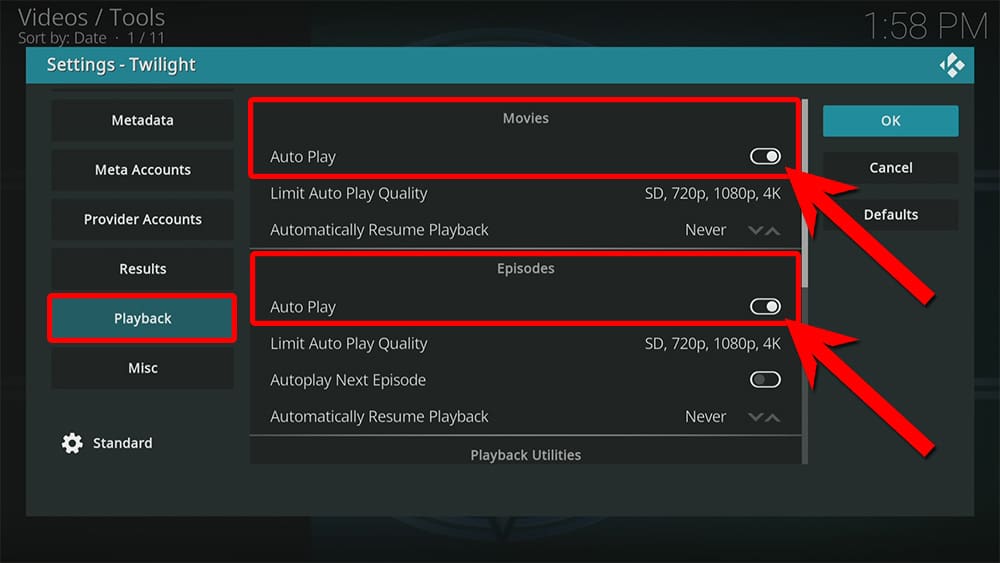
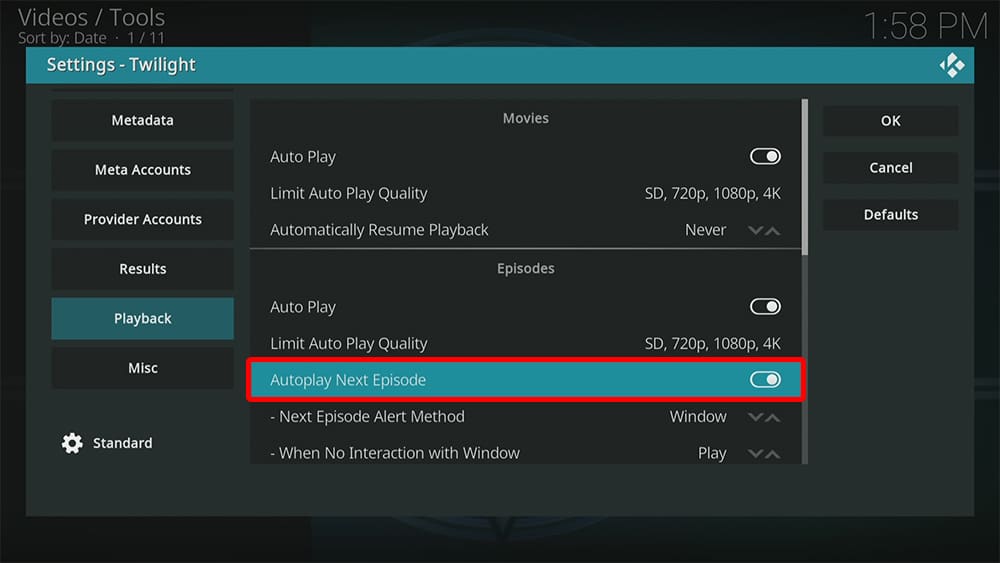
Autoplay Content with the Twilight Addon
By default, Twilight will search and provide you with a list of sources to choose from. You can manually select a source based on your viewing preferences. However, it is possible to override this setting and allow Twilight to automatically choose a source for you.
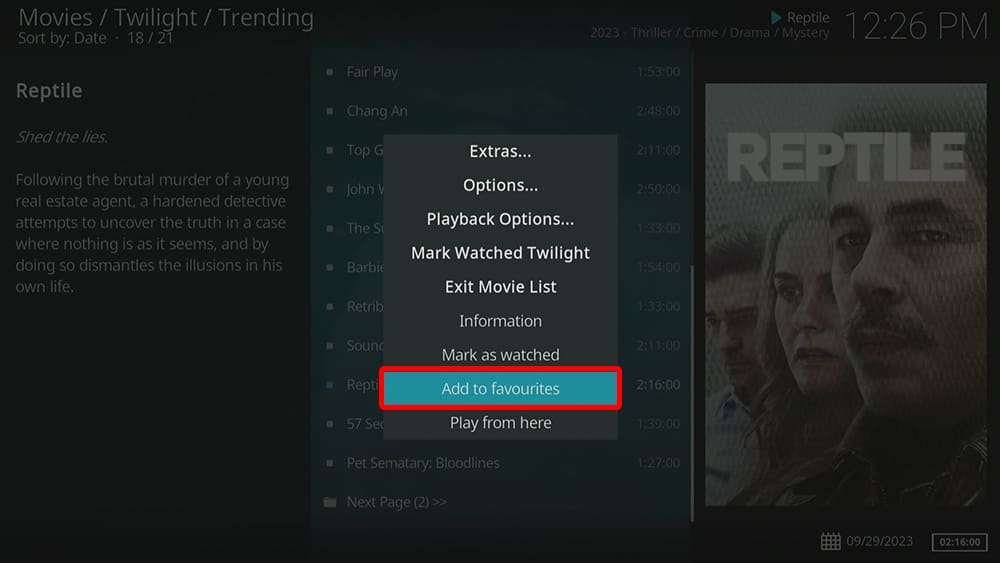
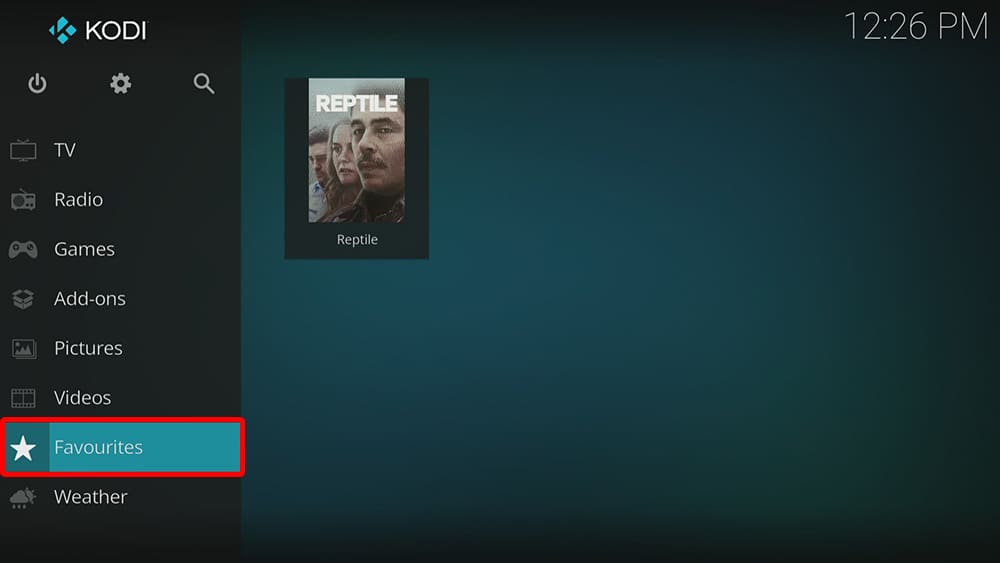
How to Add to Favourites
If you have a favourite movie or TV show that you’d like quick and easy access to, add it to your favourites! Find out how by following the steps below.
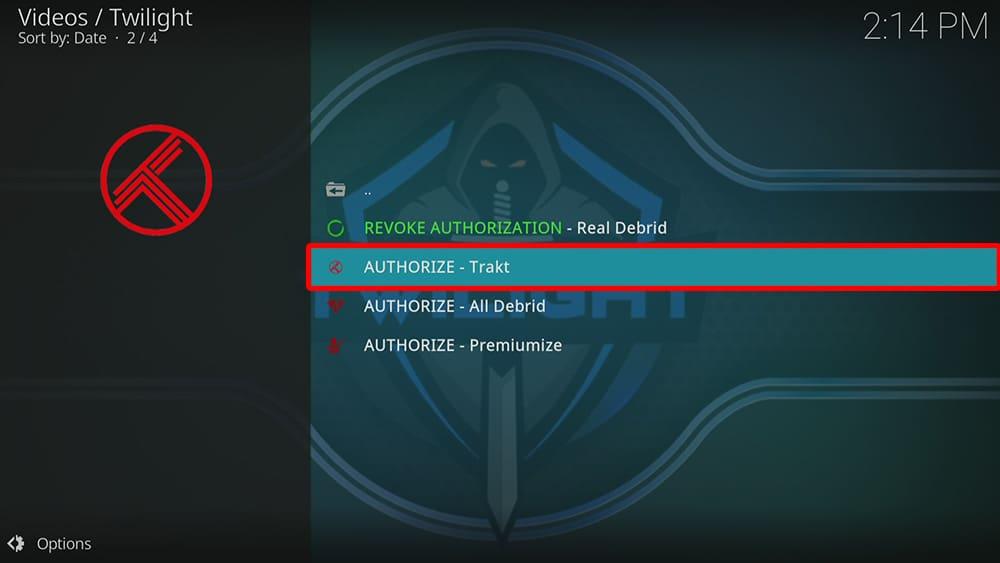
How to Link Trakt to the Twilight Addon
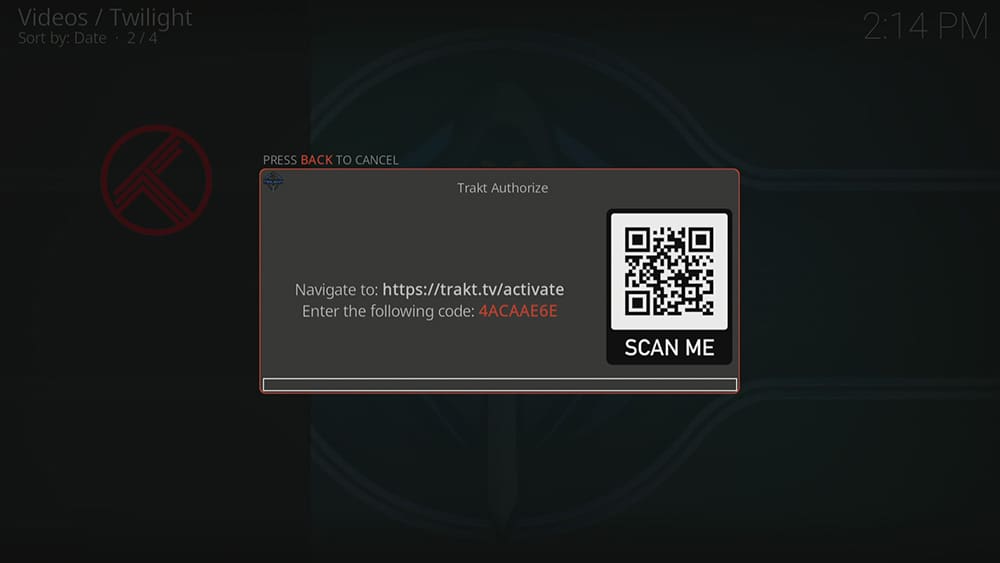
If you have a Trakt account, it’s easy to link your account to this addon. Find out how by following the steps below.
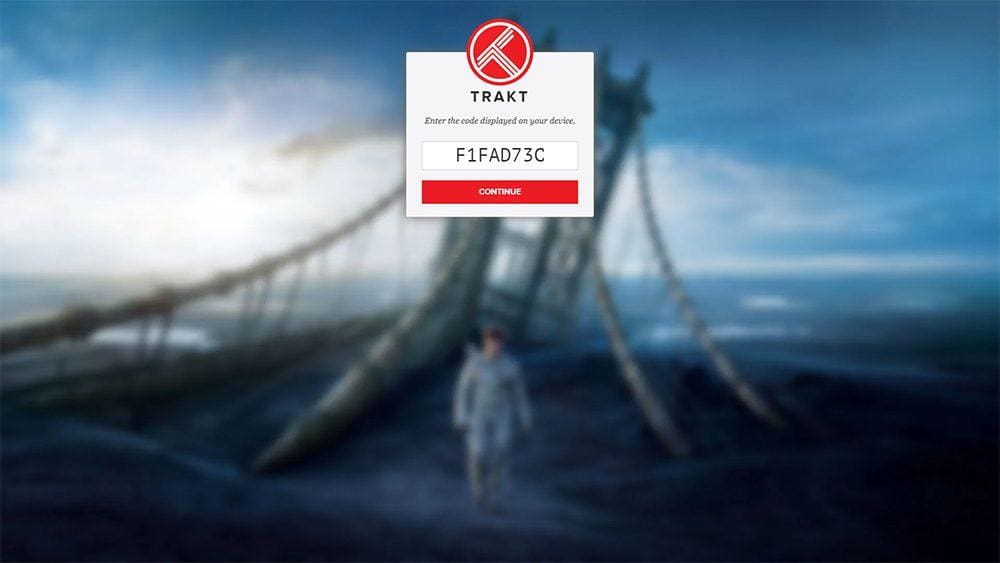
- Open a web browser, then go to trakt.tv/activate.
- Login to your Trakt account if not already logged in.
- Enter the code that you made a note of earlier.
- Select Continue, then select Yes.
Your Trakt account is now linked, and you’ll see a success notification displayed on Kodi.
Wrapping Up
The Twilight addon is fantastic for high-quality movies, TV shows and on-demand content. The fast loading times, in particular, make this addon stand out. As shown above, you can integrate your Trakt account and add your favourite movies and TV shows.
However, this addon is a premium addon and will only work with a compatible premium service such as Real Debrid. If you’re looking for a free Kodi addon, try The Crew. If you need more help, please select one of the following options.
PROGRESS:

