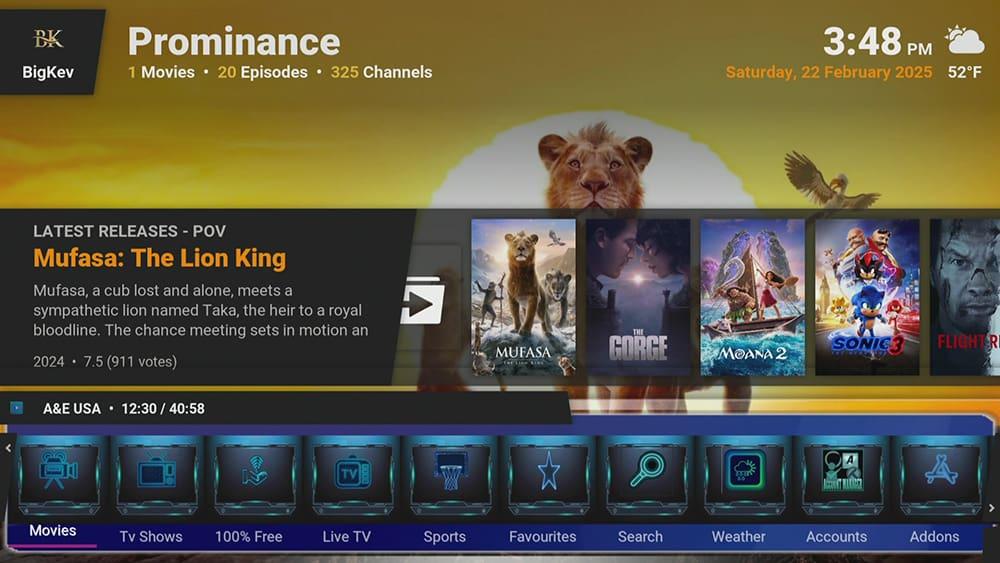
By following this guide, you’ll be able to install and use the HomeFlix Kodi Build. HomeFlix can be added once you have Kodi installed on your device. If you haven’t already done that, click here to install Kodi.
Kodi can be installed on almost any device, e.g. Firestick, Fire Cube, Nvidia Shield, Android box, Chromecast, phones, tablets, PC and more. This guide uses a Fire TV Stick 4K MAX. However, the steps are similar on other devices too.
Table of Contents
What is the HomeFlix Kodi Build?
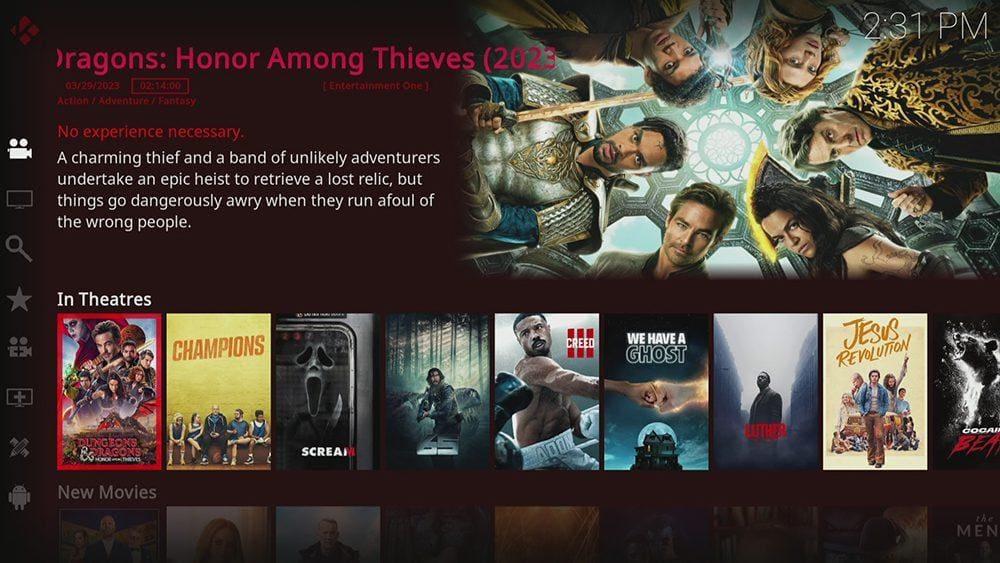
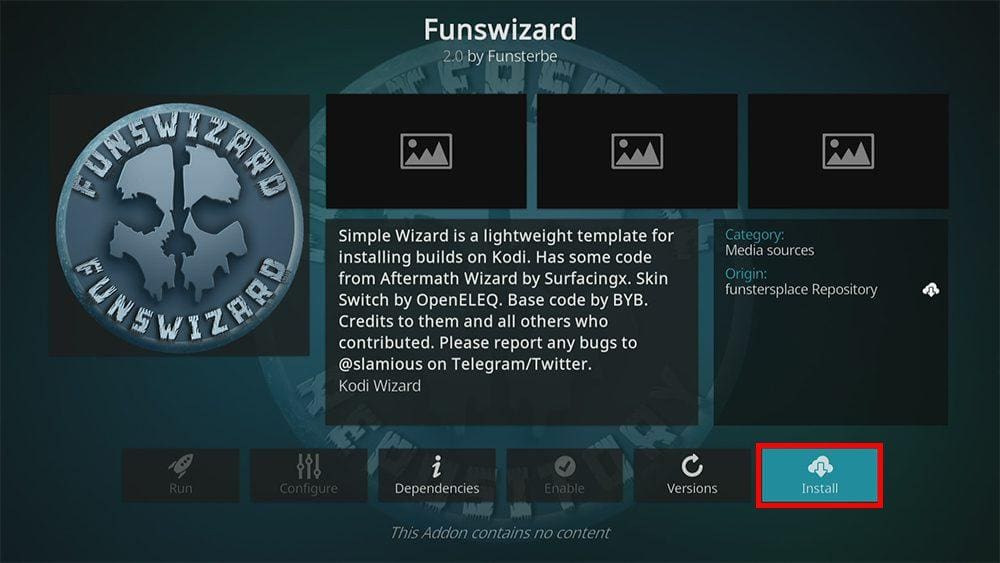
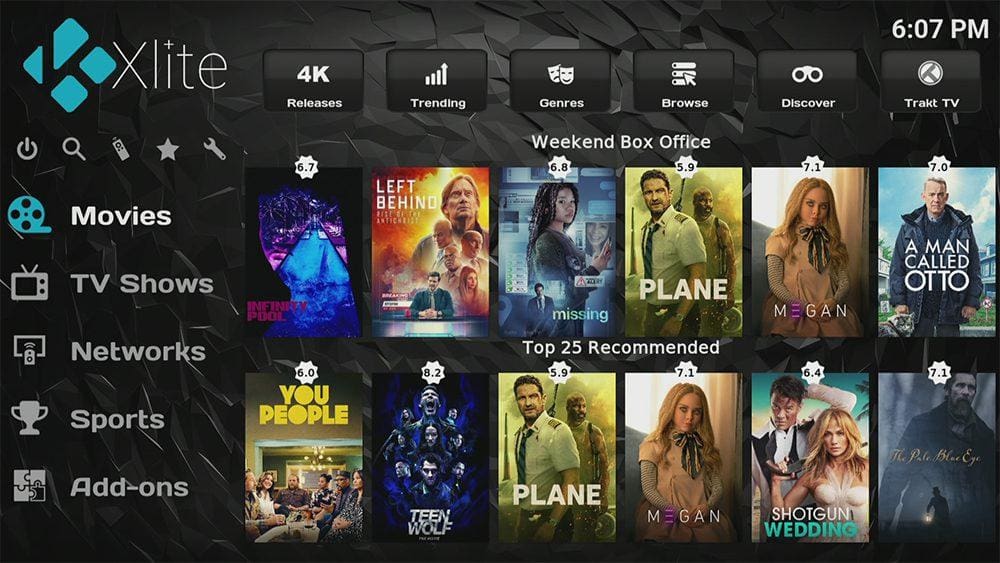
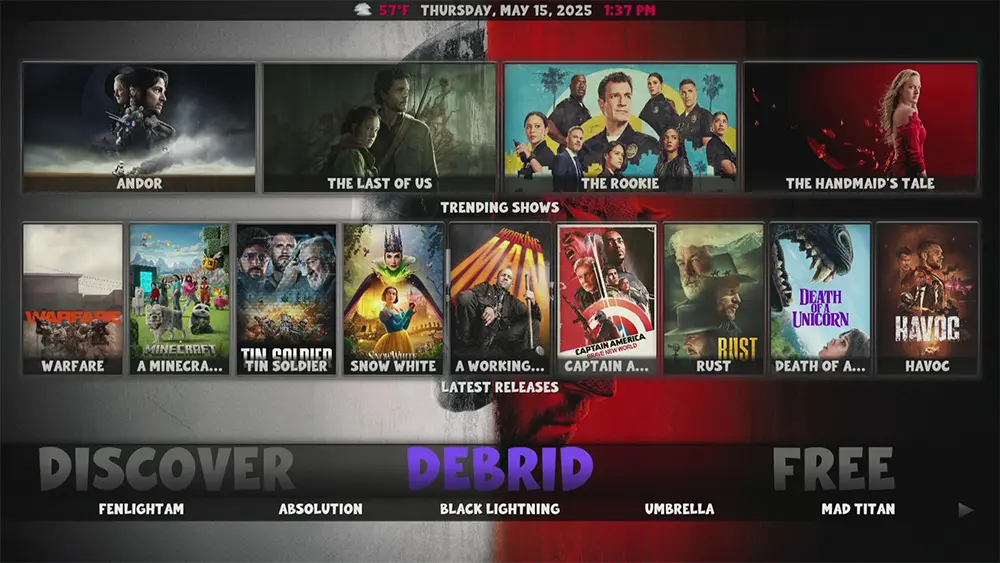
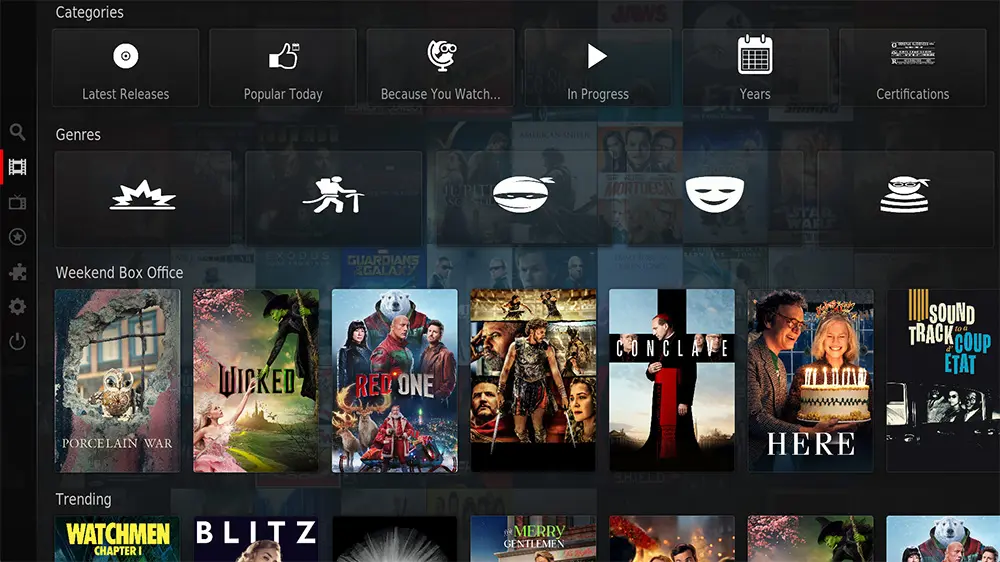
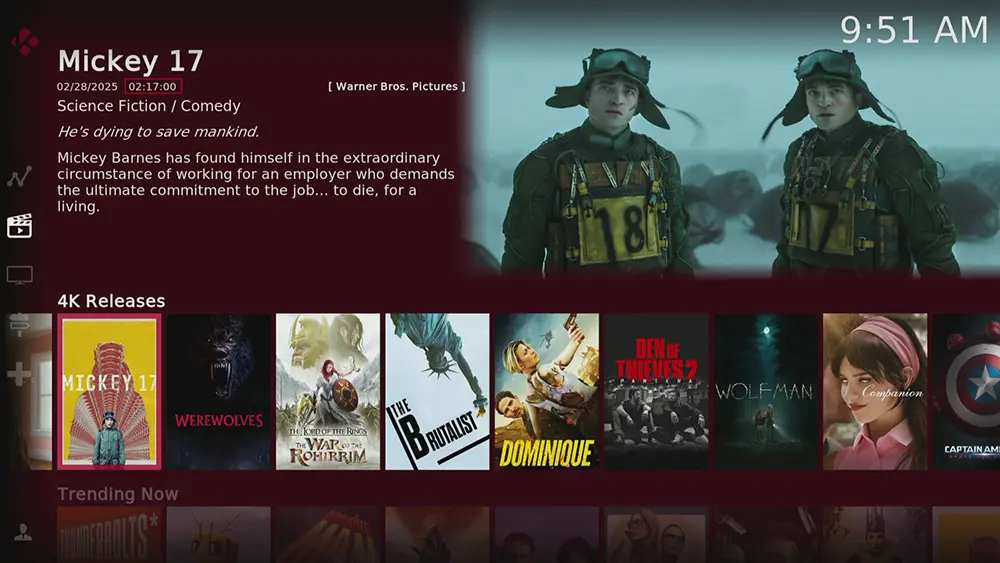
The HomeFlix Kodi Build is located within the Funswizard, offering an impressive collection of Kodi Builds in one convenient location. A Kodi Build replaces your Kodi interface with an attractive, user-friendly skin that’s easy to navigate.
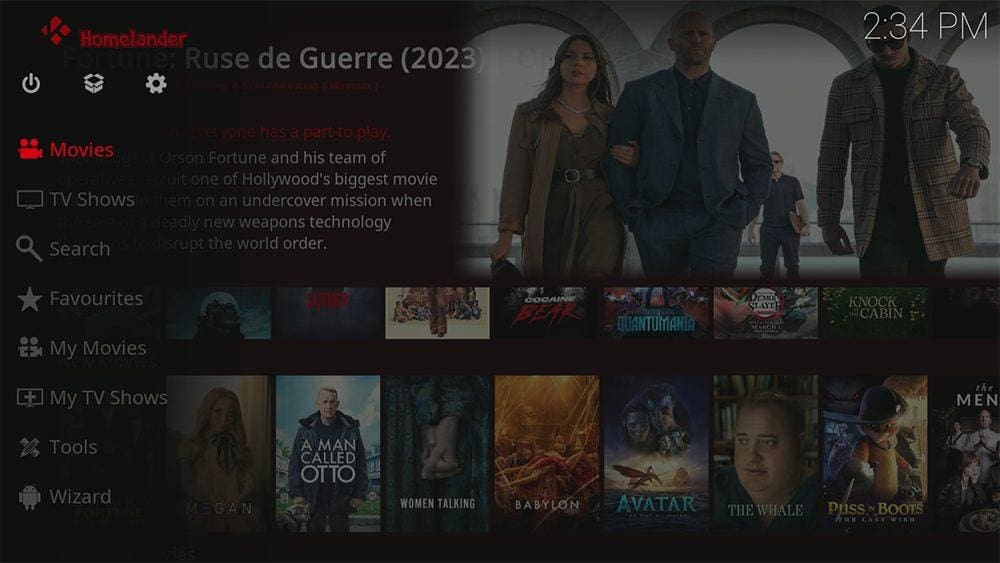
HomeFlix has a similar look and feel to Netflix and features popular Kodi Movie Addons for streaming high-quality movies and TV shows.
This Build provides plenty of free streaming links, but integration with Real Debrid is also supported for premium links. Real-Debrid, to clarify, is a premium service that searches for premium-quality links. This provides many more links in buffer-free and high quality, up to 4K in resolution.
Additionally, Trakt is supported in the HomeFlix Build. Trakt is a great tool to synchronise your favourite movies, shows, watchlists and more across multiple devices and applications.
| Compatability | Kodi 20 Nexus and Kodi 19 Matrix |
| Installation URL | https://funstersplace.net/funs/ |
| Included Addons | Homelander, Orion |
| Categories | Movies, TV Shows |
| Free Sources | ✅ Yes |
| Premium Sources | Real Debrid and others |
| Trakt Support | ✅ Yes |
Is the HomeFlix Kodi Build Legal?
Yes, this build is legal to install. However, Kodi Builds generally provide free streaming of movies, TV shows, live TV channels etc., to which they do not own the rights to do so. Consequently, using unofficial Builds to stream copyrighted or unlicensed content is unlawful and could get you into trouble. Therefore, a VPN is recommended for safe and anonymous online streaming online. With this in mind, I recommend using NordVPN. The information contained within this guide is intended explicitly for information purposes only.
WARNING YOUR IP ADDRESS IS: 216.73.216.128
In order to stream anonymously, stay protected, and unlock the internet, I recommend using NordVPN.
WARNING YOUR IP ADDRESS IS: 216.73.216.128
In order to stream anonymously, stay protected, and unlock the internet, I recommend using NordVPN.
Legal Copyright Disclaimer: As has been noted, streaming copyrighted content is unlawful and could get you into legal trouble. On account of this, we do not condone the streaming of copyrighted content. Therefore, check your local laws for streaming content online before doing so. Consequently, the information on this website is for general information and educational purposes only.
How to Install the HomeFlix Kodi Build
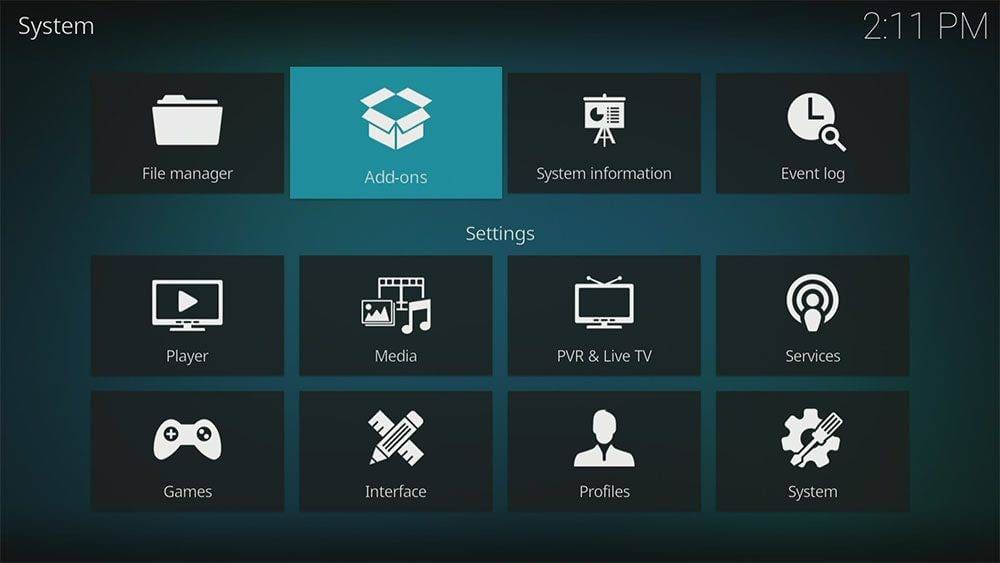
The HomeFlix Build can be installed by following the steps below. Before you start, please ensure you already have Kodi installed on your device. You’ll also need to change the Kodi settings to allow Builds to be installed from unknown sources. If you have already changed this setting, you can go to the next section to Install the Funstersplace Repository.
If you already have a Build or several Kodi addons installed, it is recommended to start afresh with Kodi by wiping all of the Kodi data before installing a new Build. Please look at How to Remove a Kodi Build if you need help with how to do that.
Unknown Sources
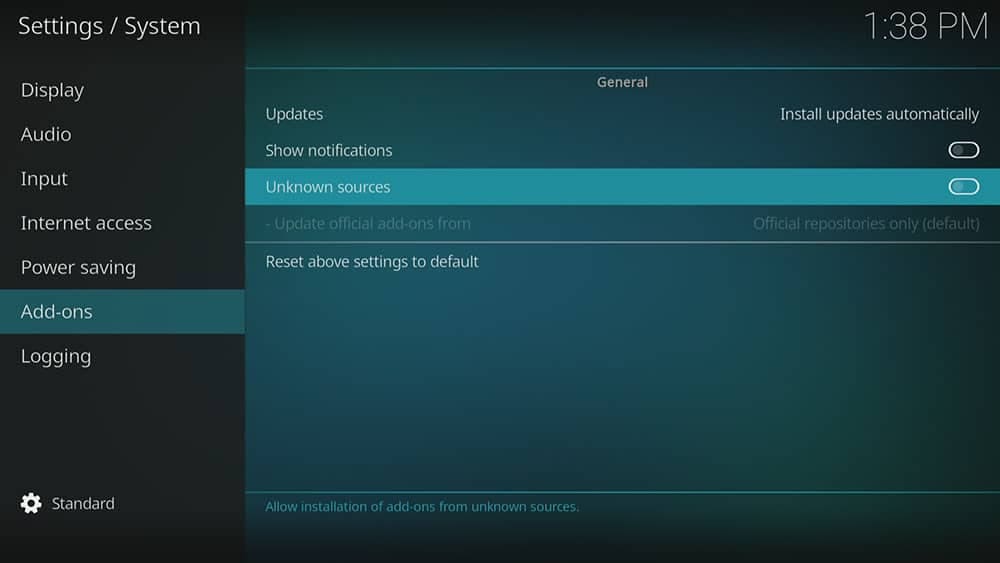
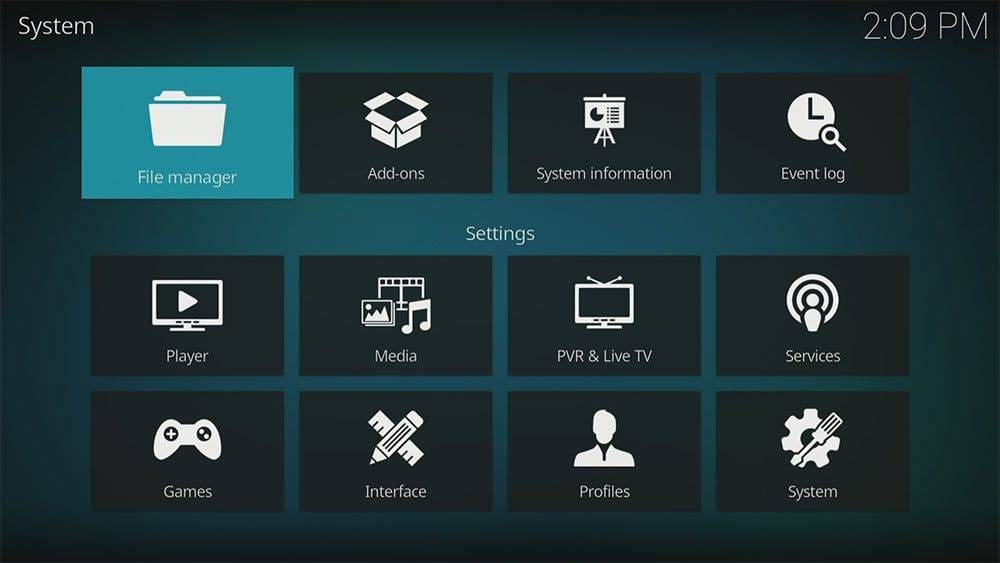
- Open Kodi, then select Settings (cog icon).
- Select System.
- Tap down the menu on the left to highlight Add-ons.
- Tap to the right, then select Unknown sources to turn this setting on.
- Read the warning, then select Yes.
- Press the back button on your remote to return to the System menu.
You can now install addons or Builds from 3rd-party sources!
Install the Funstersplace Repository
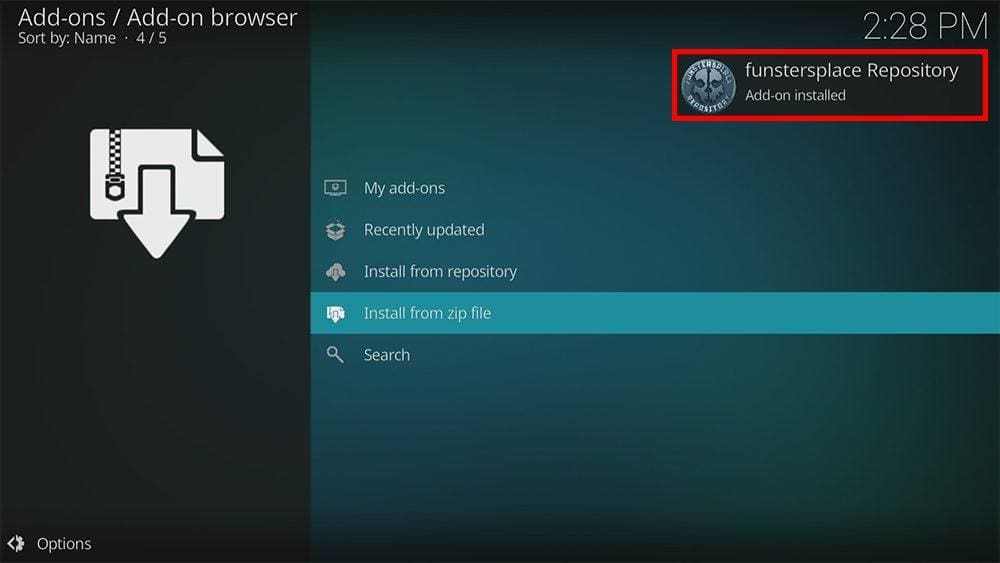
The Funswizard that contains the HomeFlix Build can presently be found in the Funstersplace Repository. Install the repository by following the steps below. If you already have the Funstersplace repo installed, skip to the next section to Install the HomeFlix Build.
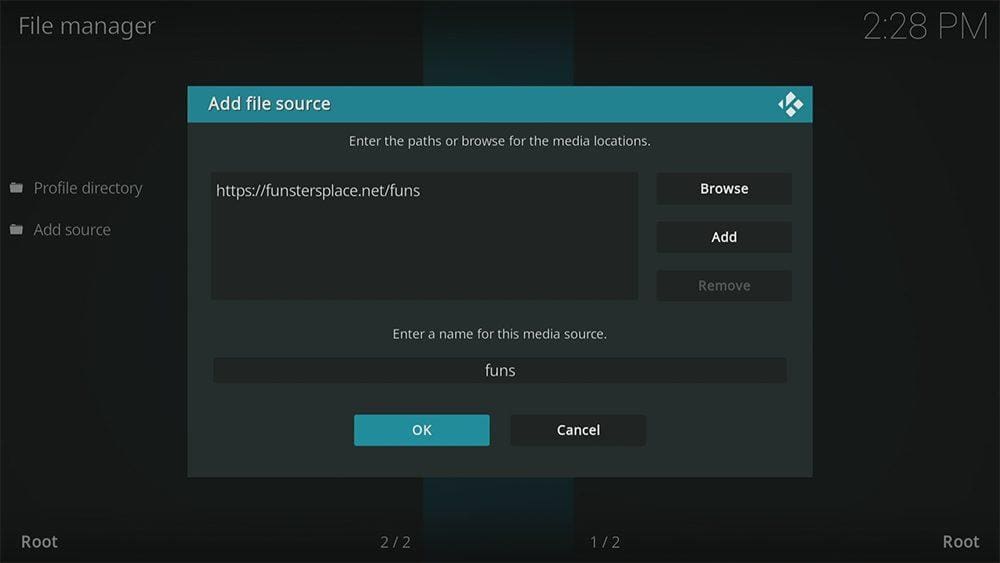
- Then select Add source.
- Select the box labelled < None >.
- Then enter the following URL exactly as you see it: https://funstersplace.net/funs
- Select OK.
- Tap down, then select Enter a name for this media source.
- Enter funs or any other name you’d prefer to use instead to identify this media source.
- Then select OK.
Install the HomeFlix Build
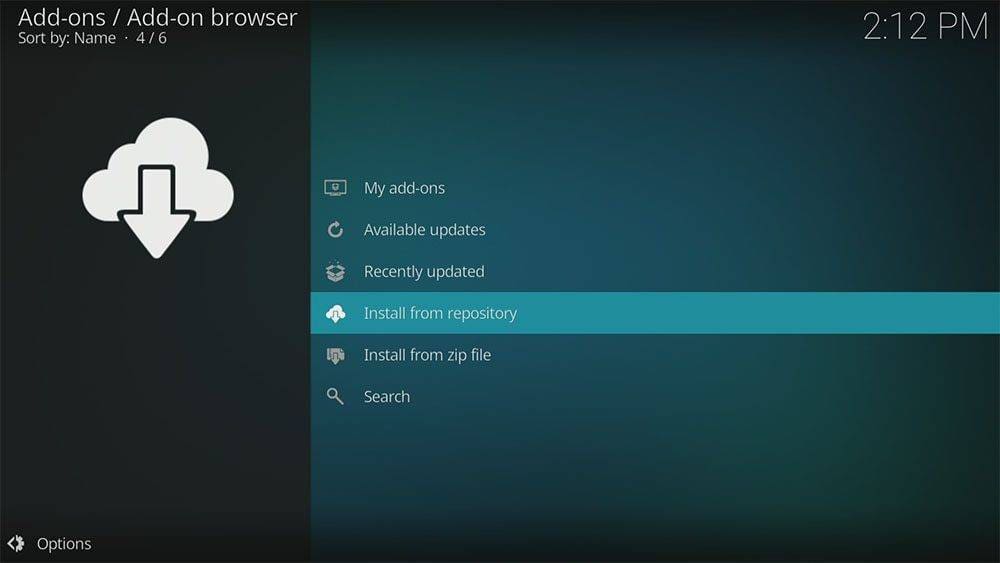
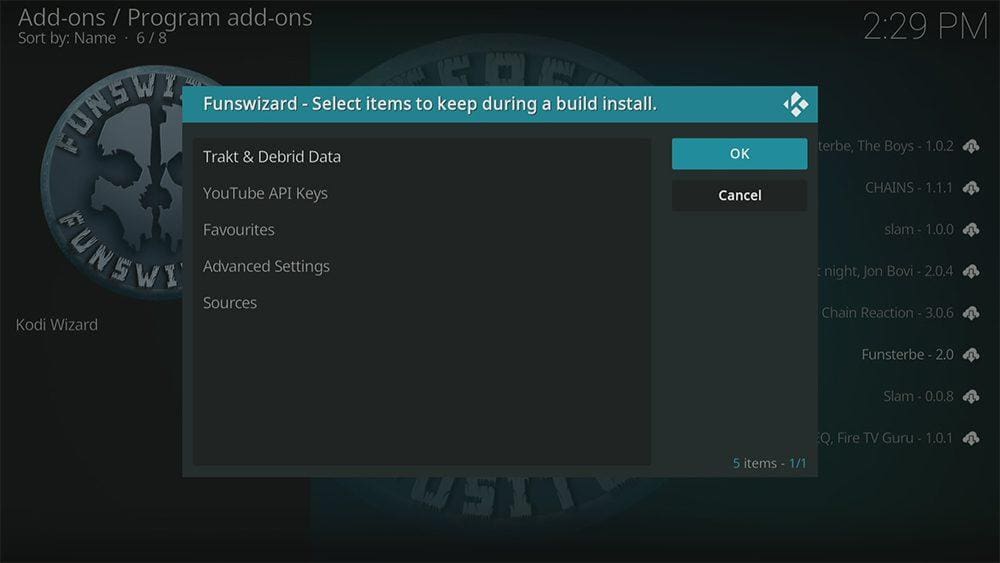
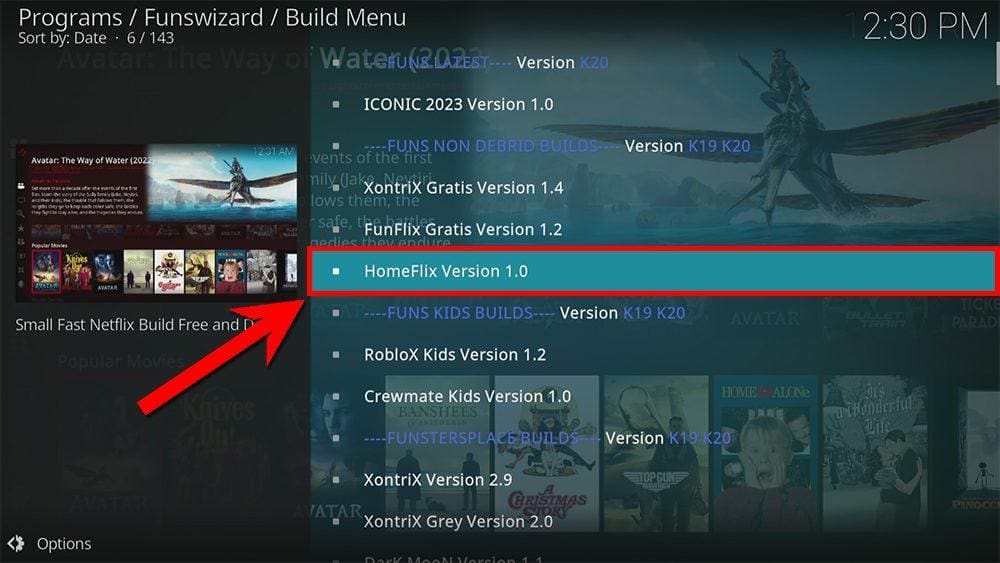
Once you have installed the repository, any Build or addon contained within it can easily be installed with just a few more steps. The HomeFlix Build can be installed by following the steps below.
How to Use the HomeFlix Build
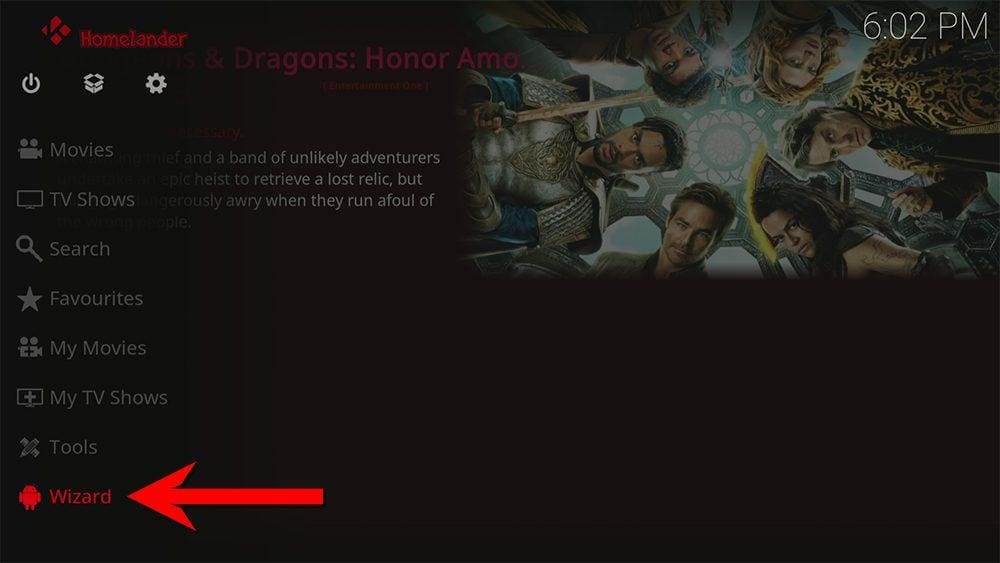
Once you’ve installed the HomeFlix Build, it’s easy to use the categories to start streaming movies and TV shows.
Find out how to start streaming from the HomeFlix Build by following the steps below.
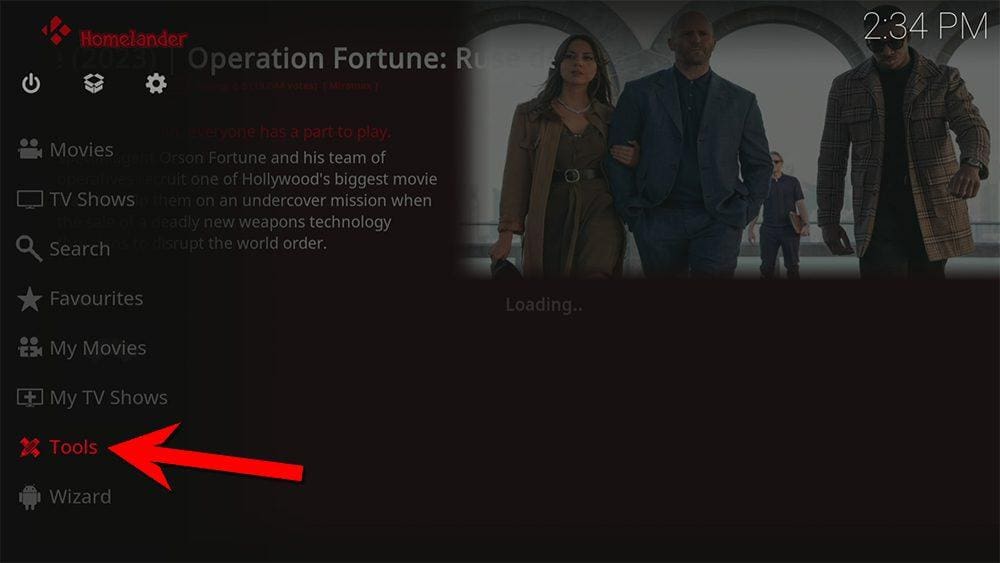
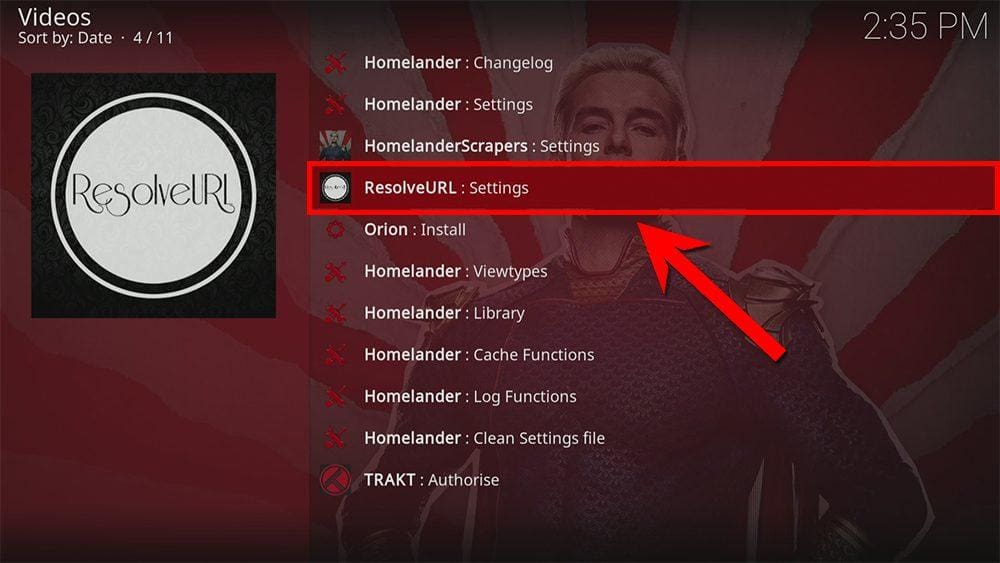
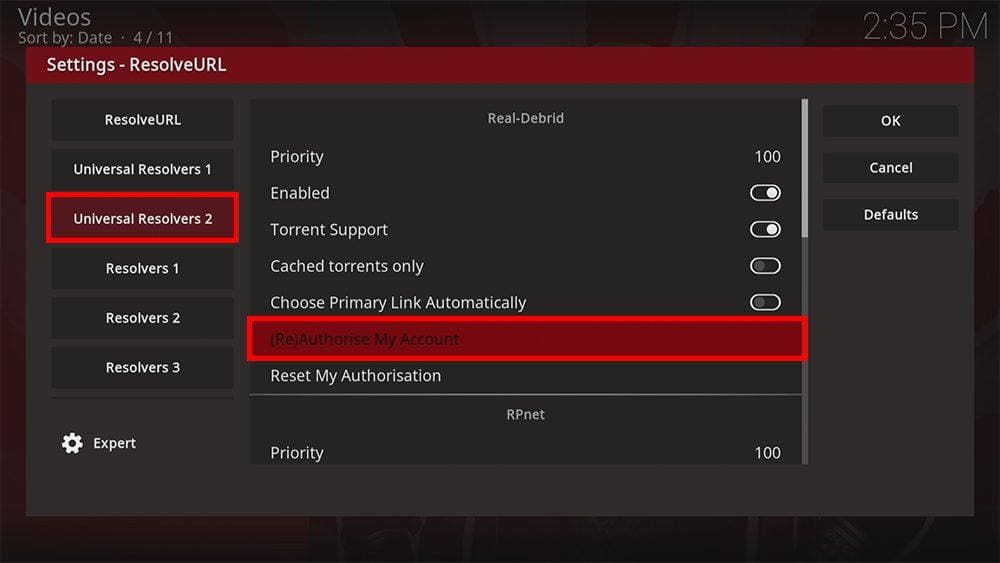
How to Link Real Debrid to the HomeFlix Build
As mentioned, the HomeFlix Build works much better with a premium account such as Real Debrid. However, if you do not have a Real Debrid account, you must set one up first. Check out my guide to Real Debrid to get yourself an account. Once you have an account, find out how to link it to this Build by following the steps below.
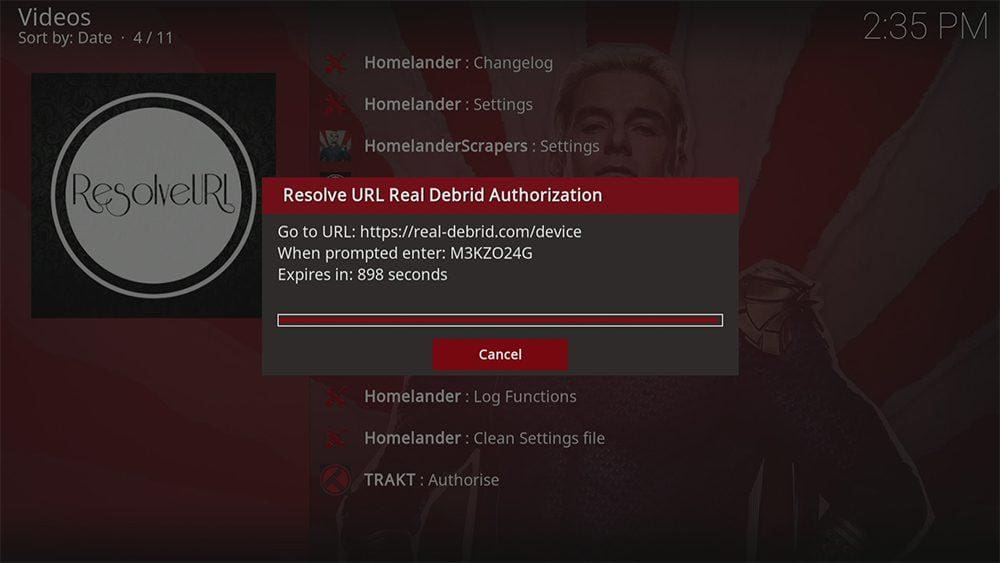
- Make a note of the code that is displayed on the screen, as you’ll need it in a later step.
- Open a web browser, then go to real-debrid.com/device.
- Login to your Real Debrid account if not already logged in.
- Enter the code that you made a note of earlier.
- Then select Continue.
Your Real Debrid account is now linked!
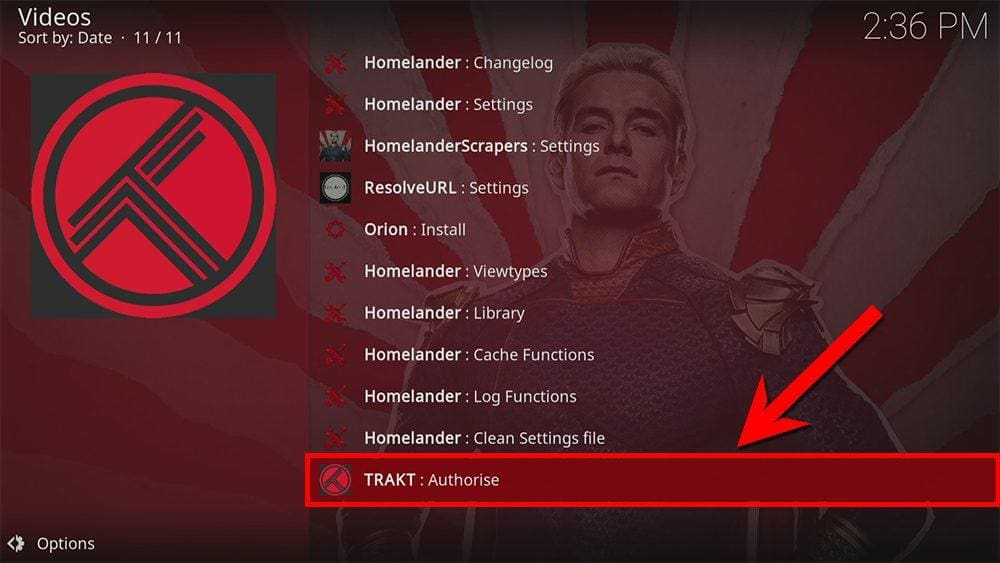
How to Link Trakt to the HomeFlix Build
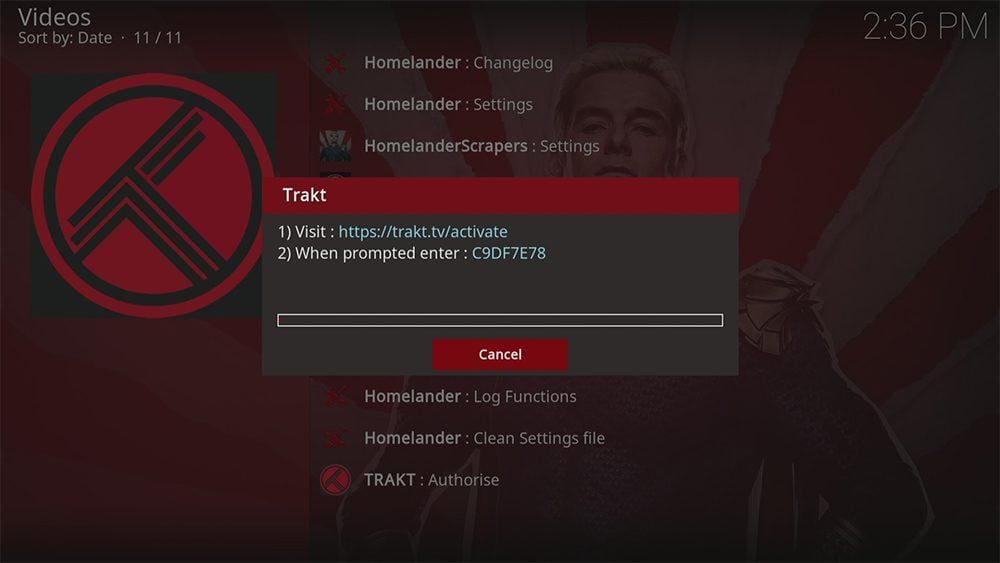
As mentioned, The HomeFlix Build can be linked to your Trakt account for tracking movies and TV shows. However, if you do not have a Trakt account, you must set one up first. Check out my guide to Trakt for more information and how to set up an account. Once you have an account, find out how to link it to this Build by following the steps below.
- Make a note of the code that is displayed on the screen, as you’ll need it in a later step.
- Open a web browser, then go to trakt.tv/activate.
- Login to your Trakt account if not already logged in.
- Enter the code that you made a note of earlier.
- Then select Continue.
Your Trakt account is now linked!
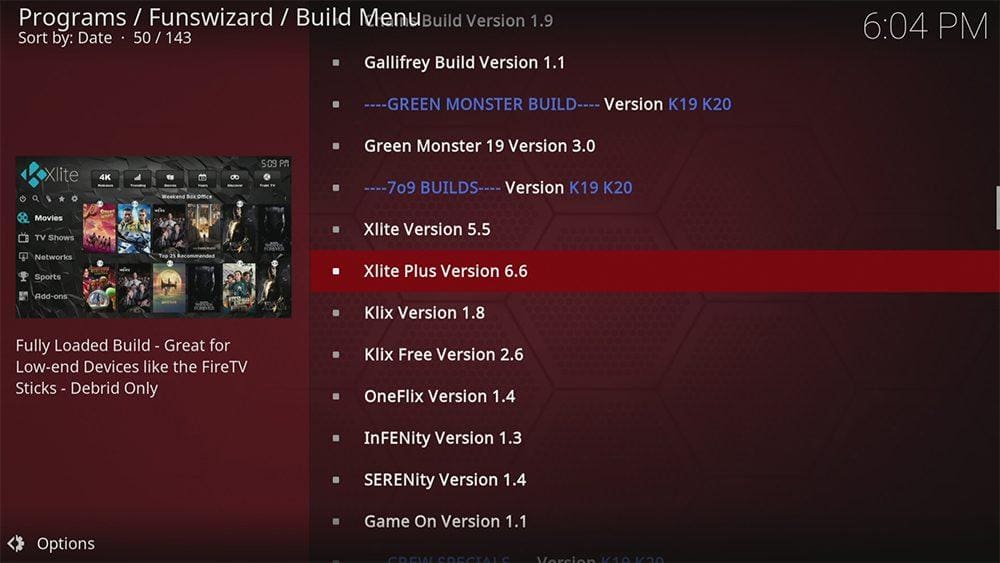
How to Change the HomeFlix Build
You may decide you’re not too keen on the Build you installed or want to try another Build from the Funswizard. It’s easy to change the current Build by following the steps below.
- Select Continue.
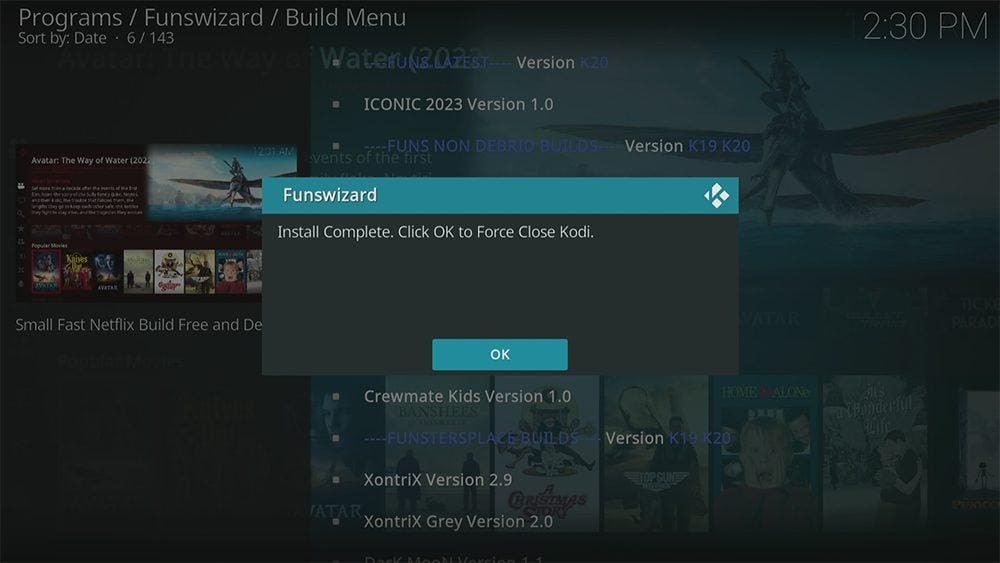
- Wait a few minutes for the Build to download and install.
- When complete, select OK to force close Kodi.
- Re-launch Kodi, and you’ll notice its appearance has changed to the new Build.
- Wait a few minutes for the Build to load (until you can see thumbnails populate).
Enjoy using the new Kodi Bild!
Wrapping Up
The HomeFlix Kodi Build, and the Funswizard are excellent additions to Kodi. Adding a Build to Kodi is attractive, with movies and TV shows within your grasp with just one easy install. In addition, as this guide mentions, you can integrate your Real Debrid and Trakt accounts.
However, installing a Build might be too power-hungry for streaming devices with limited storage and RAM, such as a Firestick. In that case, consider installing several addons manually, which will be less memory intensive such as The Crew, Asgard and Mad Titan Sports. If you need more help, please select one of the following options.


