
Find out how to fix it when no USB storage is detected on your Firestick. There are different ways you can identify and fix performance issues. By following these tips, you can make sure your Firestick’s USB works correctly and without any problems.
To fully understand the topic, we recommend watching the video or reading the written guide. This will give you a clear explanation and a complete understanding.
The Amazon Firestick, a top contender in the streaming device market, is particularly popular for its affordability and the ease with which it can be jailbroken. With just a few straightforward adjustments, you can unlock its full potential, making it an attractive option for those looking to break free from traditional cable TV.
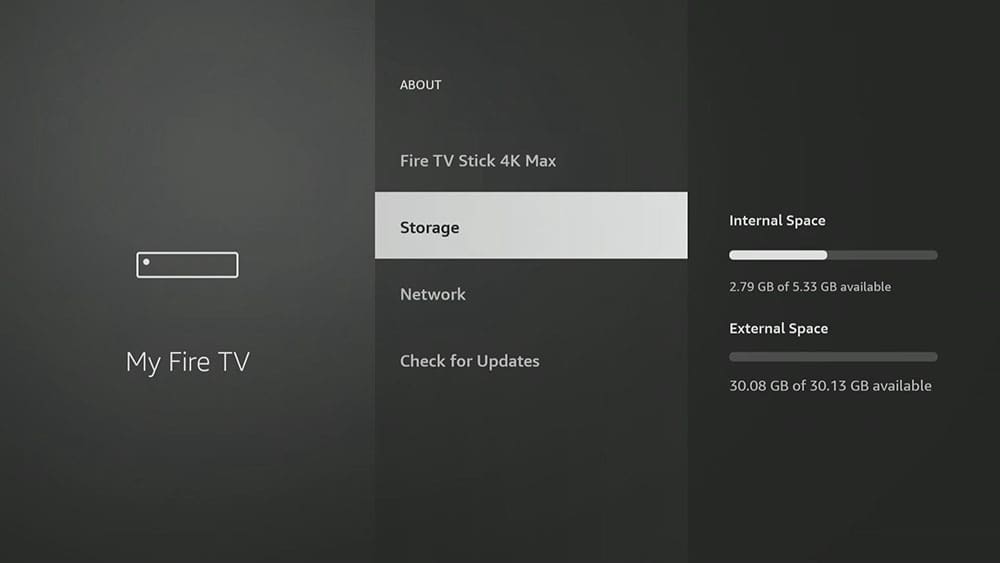
Many Firestick users face a common issue: additional USB storage is undetected. Additionally, users can’t see their USB storage when navigating the Firestick Settings > My Fire TV > About > Storage.
This can be frustrating, but thankfully, some answers and solutions exist.
To fix this problem, we suggest you watch the above video or the following written guide. These resources are designed to offer clear, concise, step-by-step instructions to help you fix the issue.
If you cannot view your storage, it could be due to the drive needing to be formatted correctly. The storage drive should ideally be formatted to FAT32 to ensure recognition and should not exceed 2TB.
If you need help with formatting, please take a look at the guide How to Format USB Storage to FAT32.
For optimal performance, Amazon suggests using USB drives that are 128GB or smaller, with high-speed USB 3.0 drives being preferred, despite Firesticks having a USB 2.0 port. USB 3.0 drives typically have faster read and write speeds, performing better even when connected to USB 2.0 ports.
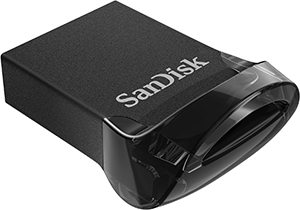
We always use SanDisk or Toshiba-branded storage drives with Firesticks due to their reliable performance.
SanDisk 32GB USB 3.1 Flash Drive (US Link)
SanDisk 32GB USB 3.1 Flash Drive (UK Link)
Toshiba 2TB External Hard Drive USB 3.0 (US Link)
Toshiba 2TB External Hard Drive USB 3.0 (UK Link)
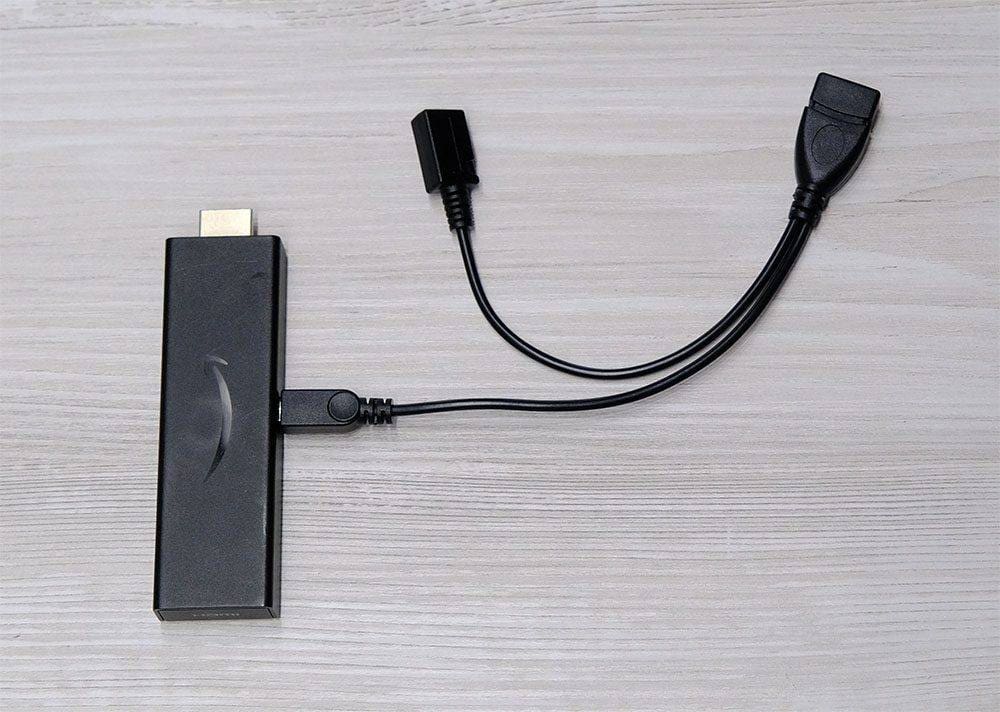
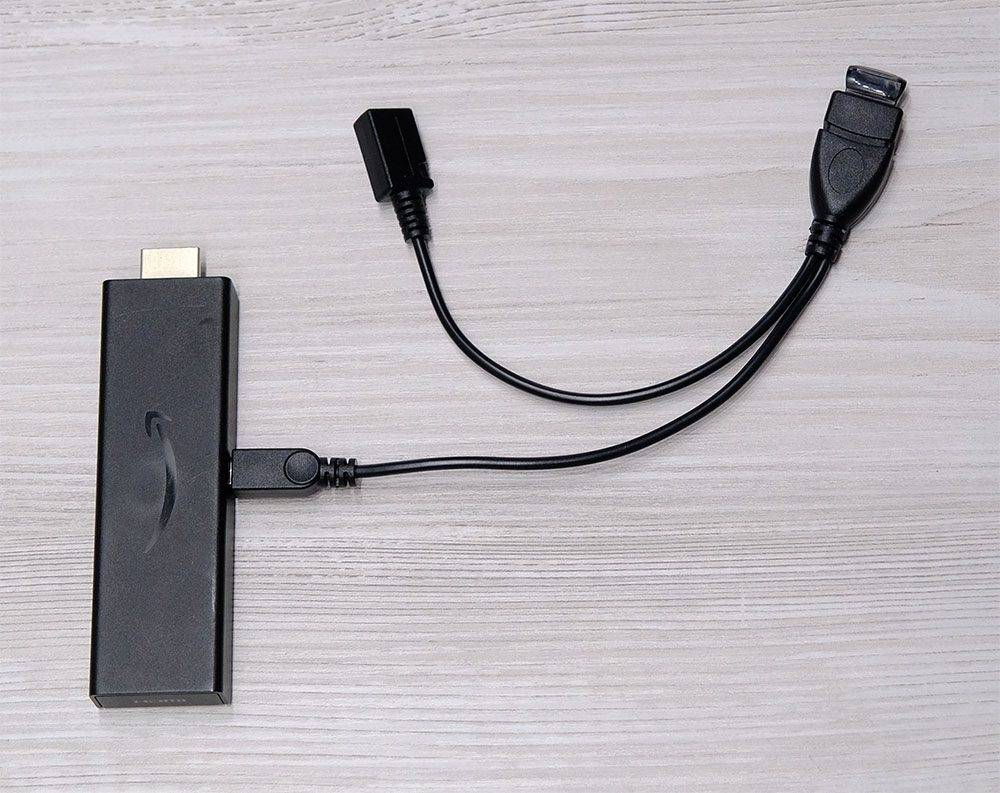
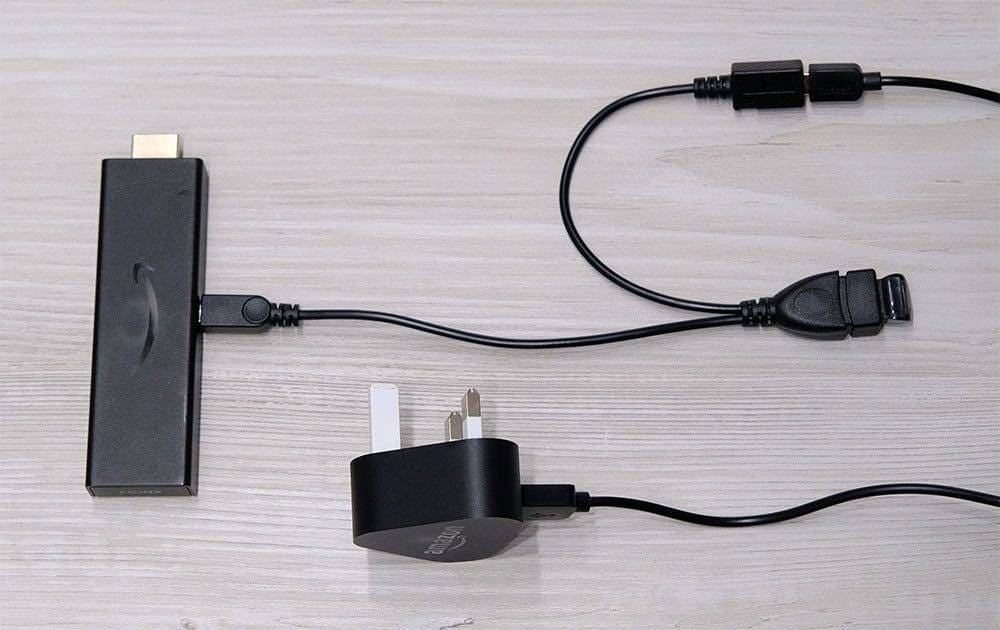
After making sure your USB storage is formatted correctly, please check the storage drive is correctly connected to your Firestick.
After correctly formatting and connecting your storage device, you may assume your Firestick settings will display it.
However, this is not true for Firesticks with Fire OS 5 or 6. Even if your storage is correctly formatted, it will not be displayed in your Fire TV About menu. These operating systems do not support the display of additional storage.
Only Firesticks running Fire OS 7 and above will allow you to view external storage space in the settings.
Knowing which Fire OS your Firestick is running on is crucial for managing and accessing external USB storage.
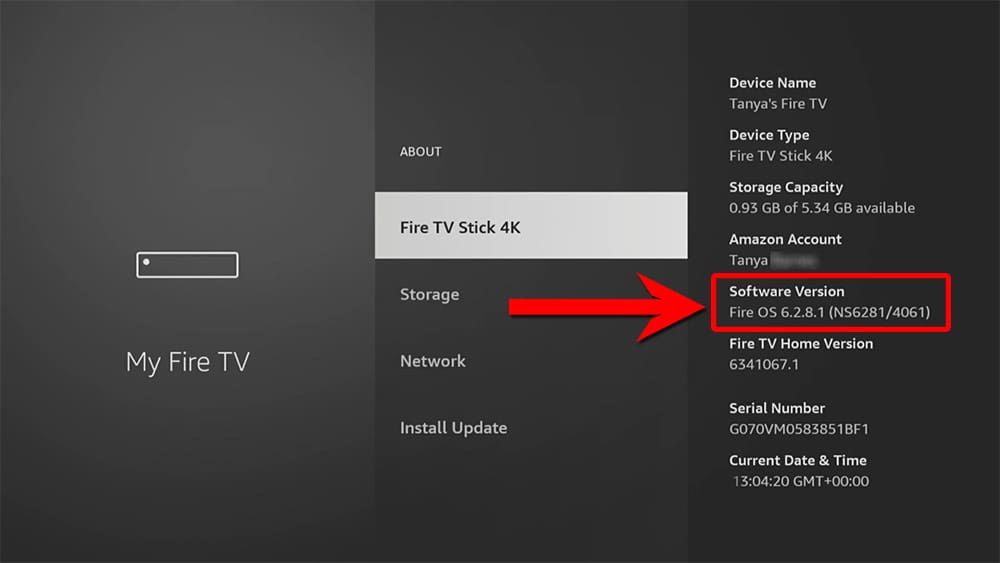
To determine your Fire OS version, navigate to Settings > My Fire TV > About.
On this screen, the software version will be displayed on the right-hand side as either Fire OS 5, Fire OS 6, Fire OS 7, or Fire OS 8.
Skip to the relevant section depending on which Fire OS you have to continue troubleshooting.
Troubleshoot Fire OS 5
Troubleshoot Fire OS 6
Troubleshoot Fire OS 7 & Above
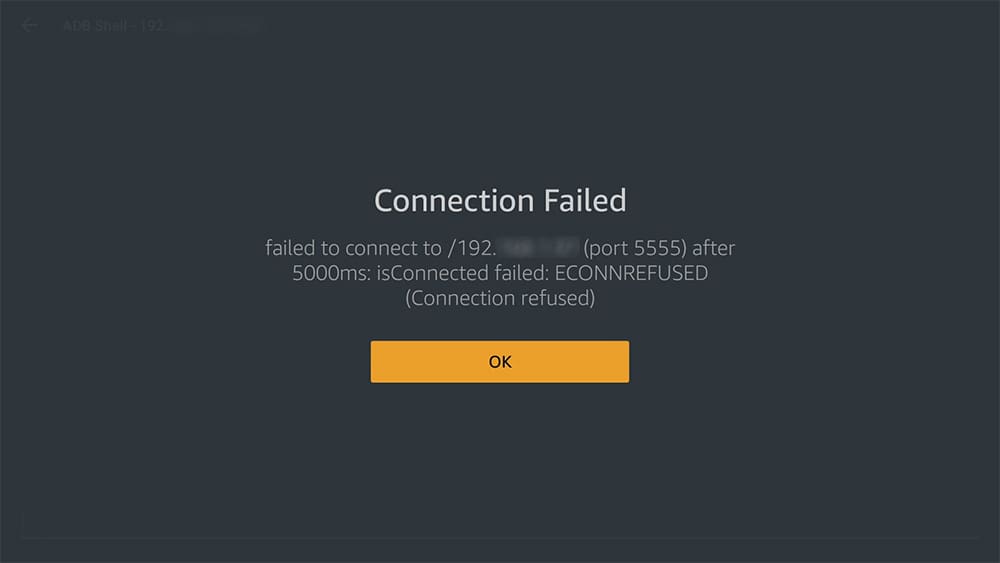
If your Firestick is running Fire OS 5, adding extra storage and using it to install apps is impossible.
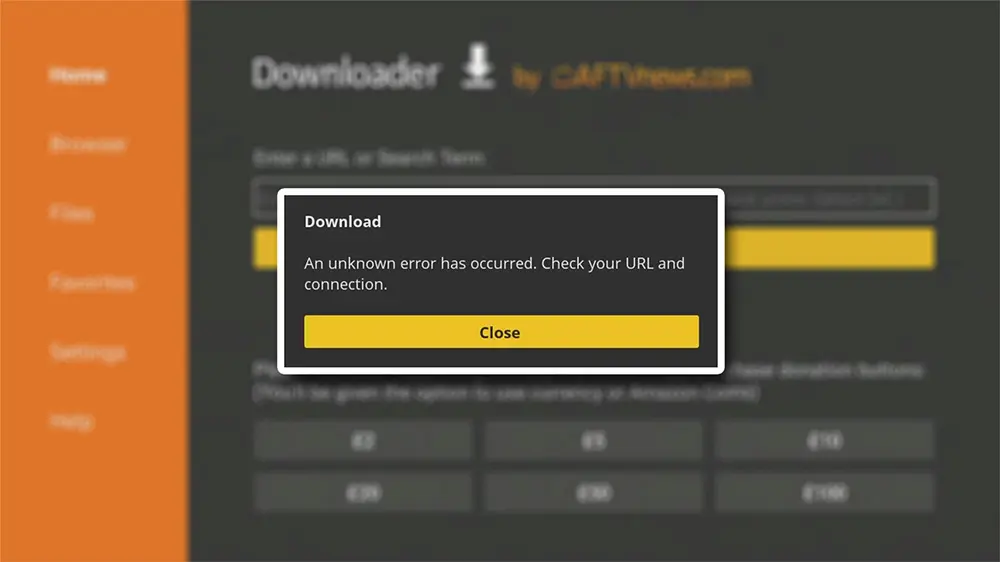
Attempting to add storage as system storage through ADB Shell will result in a “Connection Failed” error.
If you want to share videos and photos with your Firestick running Fire OS 5, you can use additional storage as general storage.
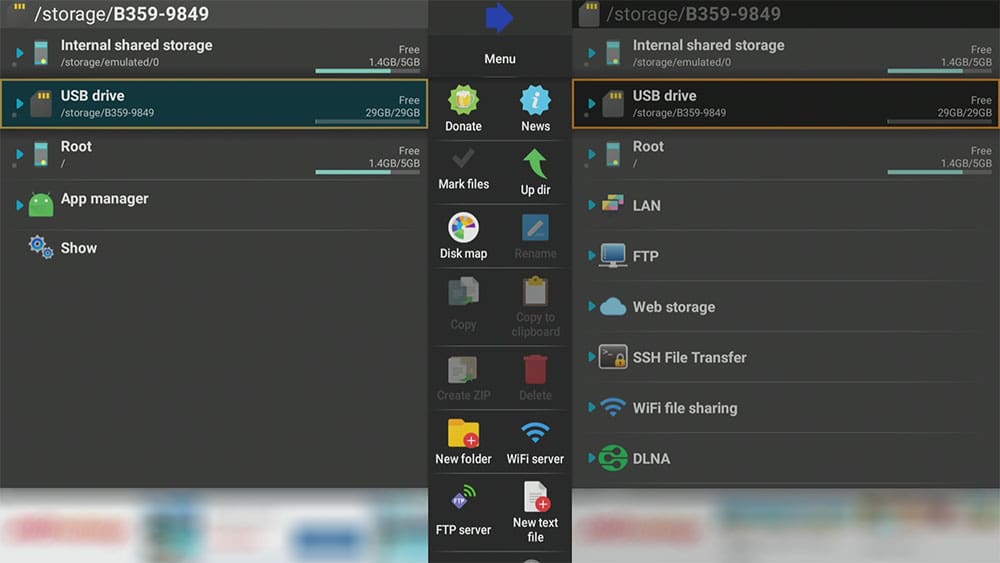
To do this, you can use a file explorer app like X-plore. If you need help, please look at the guide X-plore File Manager: How to Install and Use on Firestick.
If you have already installed X-plore and can’t see your storage, make sure your storage is formatted to FAT32 and everything is connected correctly. If the issue persists, check out More USB Storage Troubleshooting Tips.
If you have a Firestick running on Fire OS 6, you may notice some changes regarding additional storage options. Previously, you had three choices: using additional storage as general storage, utilising extra internal storage, or employing a mixed storage method that allocated part of your USB drive for internal storage and part for external storage.
This was made possible through ADB (Android Debug Bridge) connections. However, a software update released by Amazon in February 2024 significantly impacted users’ ability to establish a local ADB connection and execute ADB commands on Fire TV devices, making these options unavailable.
The only option now available to users is to use extra storage as general storage.
To do this, you can use a file explorer app like X-plore. If you need help, please look at the guide X-plore File Manager: How to Install and Use on Firestick.
If you still need help with your USB storage, check out More USB Storage Troubleshooting Tips.
If you have a Firestick running on Fire OS 7 and above, you may notice some changes regarding additional storage options. Previously, you had three choices: using additional storage as general storage, utilising extra internal storage, or employing a mixed storage method that allocated part of your USB drive for internal storage and part for external storage.
This was made possible through ADB (Android Debug Bridge) connections. However, a software update released by Amazon in February 2024 significantly impacted users’ ability to establish a local ADB connection and execute ADB commands on Fire TV devices, making these options unavailable.
If you have a Firestick that runs on Fire OS 7 and above, you have two options to use additional storage.
If you need help, please look at the guide X-plore File Manager: How to Install and Use on Firestick.
To use your USB storage as additional system storage, follow the video or our written guide: Add More Storage to Firestick (Fire OS 7).
If you have used your storage as additional internal storage to install more apps and followed the steps in the guide linked above, there shouldn’t be any issues seeing your storage in the About menu in the Firestick settings.
However, you won’t be able to see or use it X-plore as your storage is now accessible by the operating system only.
If you still need help with your USB storage, check out More USB Storage Troubleshooting Tips.
If your storage isn’t being recognised and you’ve confirmed it’s formatted to FAT32, you can try a few things.
Firstly, remove the storage and plug it back in. This often resets the connection and prompts the Firestick to recognise the storage.
If that doesn’t work, try a reboot. Disconnect the storage and power from your Firestick, wait for 30 seconds, and then plug the power back in. Once your Firestick is back on the Home screen, reconnect the storage.
If neither of those steps work for you, consider using a different USB storage drive. Some brands of storage are more compatible with the Firestick than others. We recommend using a Sandisk flash drive, and you can find links to recommended storage options below.
SanDisk 32GB USB 3.1 Flash Drive (US Link)
SanDisk 32GB USB 3.1 Flash Drive (UK Link)
Toshiba 2TB External Hard Drive USB 3.0 (US Link)
Toshiba 2TB External Hard Drive USB 3.0 (UK Link)
If you have faced problems while detecting USB Firestick storage, this guide will help you resolve them. Once you become familiar with the differences between Fire OS versions and the three primary types of storage, troubleshooting becomes relatively simple. We hope that this information was helpful to you.
PROGRESS: