Struggling with a failed to install dependency error in Kodi? Don’t throw your remote at the screen just yet! This frustrating issue, where Kodi can’t grab the necessary extra bits and pieces for your favourite addons, is surprisingly common and, thankfully, often fixable. Let’s go ahead and dive into the details and get your Kodi installation back on track.
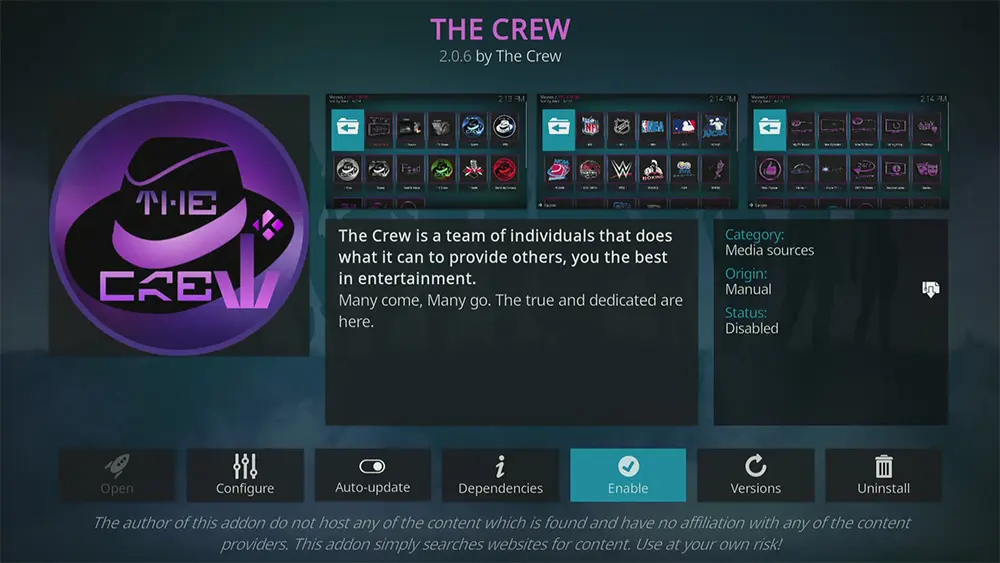
What exactly is a dependency in the Kodi universe? Simply put, some Kodi addons aren’t self-sufficient. They depend on smaller programs or libraries to perform tasks like playing specific media or accessing online services. These are the dependencies, and when Kodi tries to install an addon, it also attempts to install these necessary components.
A snag in this process results in the “failed to install dependency” error. It’s crucial to distinguish this from an “Unable to Connect” error in Kodi, which points to a separate issue, often with your network or the content source. If that’s what you’re seeing, our guide Fix Kodi Unable to Connect Error is your go-to resource. But stick with us here, and we’ll resolve those dependency errors.
Before we get into more technical fixes, let’s run through a few quick and easy checks.
First, give your internet connection a good once-over. Is everything else online working smoothly? A temporary network hiccup can sometimes be the culprit. It’s crucial to try restarting your router and the device on which Kodi is installed, as this simple step often resolves the issue.
Secondly, a crucial step is to ensure that your Kodi installation is up to date. Older versions can sometimes have compatibility problems with newer addons and their dependencies. Refer to our guide, How to Install and Use Kodi, to check the latest version and learn how to update to it.
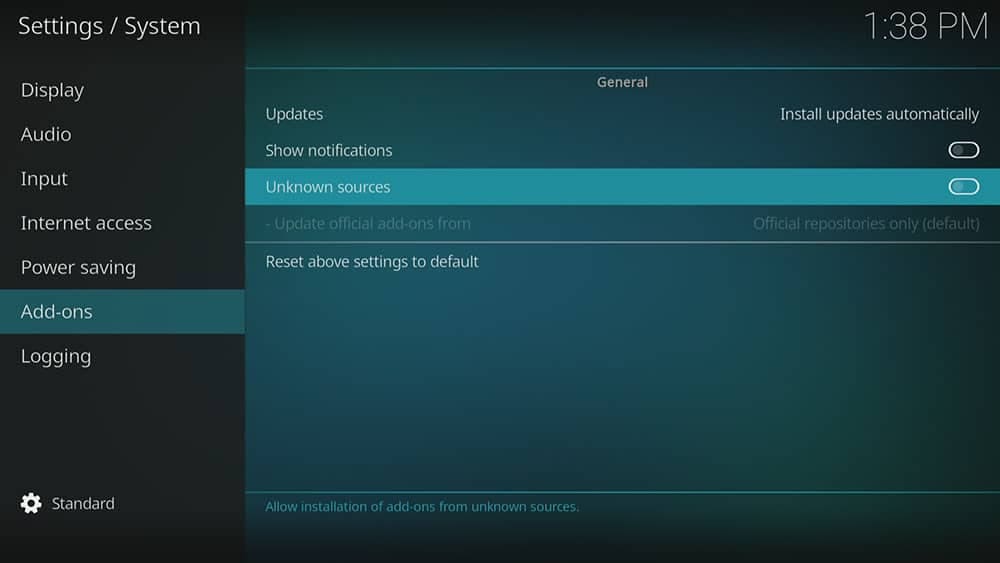
Thirdly, if you are attempting to install a third-party addon (one not from the official Kodi addon repository), make absolutely sure you have enabled Unknown sources in Kodi’s settings.
If this setting isn’t enabled, Kodi will block the installation of addons from unofficial sources, and this could manifest as a dependency error or a general installation failure.
Finally, as one of the last initial checks, consider the source of your addon. If you’re trying to install from a repository, that repo might be temporarily down or experiencing issues. Give it some time and try again later.
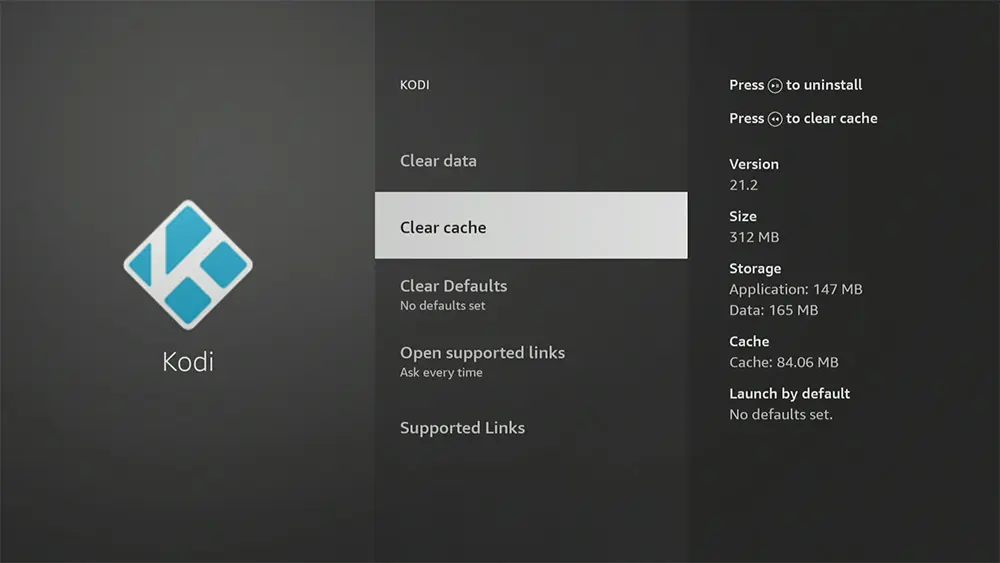
If those initial checks didn’t banish the Kodi dependency error, let’s try a bit of digital housekeeping by clearing Kodi’s cache. Think of the cache as a temporary storage space where Kodi keeps frequently accessed data to speed things up.
However, sometimes this cached data can become outdated or corrupted, leading to unexpected issues like our current Kodi install problems. Giving your cache a good clean-out can often resolve these glitches.
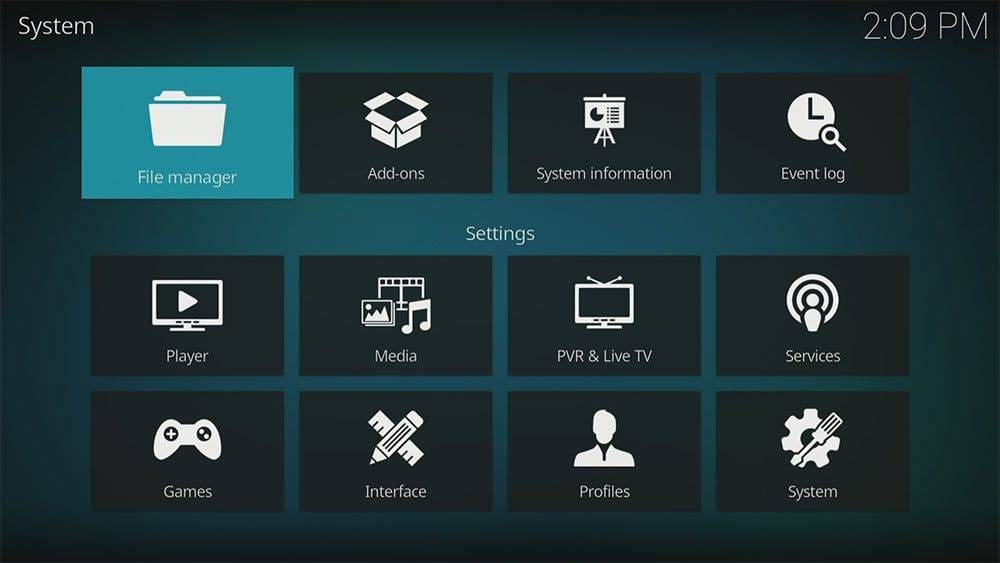
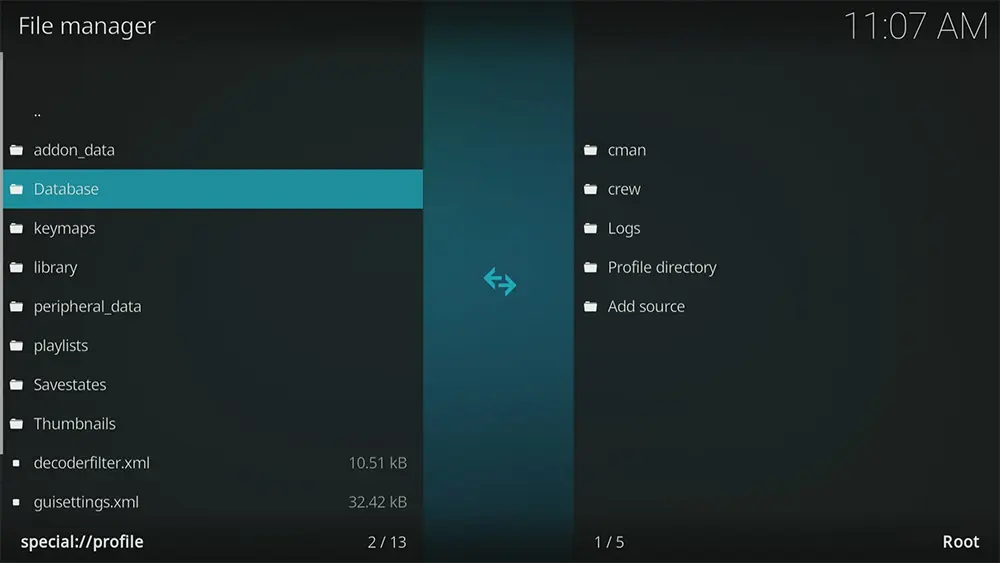
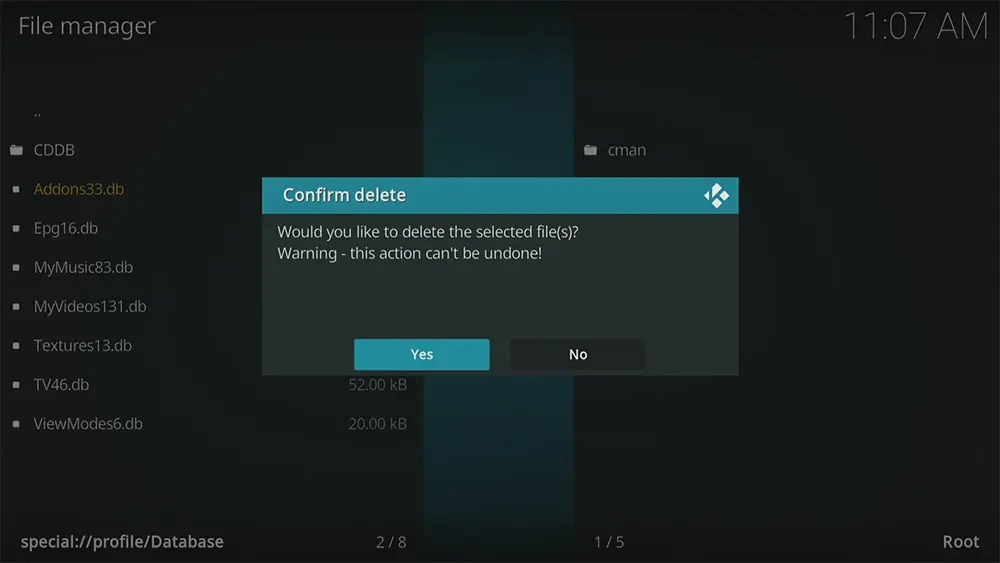
If you’ve exhausted the previous troubleshooting steps and are still wrestling with the Kodi error failed to install a dependency, a more advanced technique involves potentially restoring a backup of your Addons33.db file.
This file is Kodi’s database that stores information about your installed addons and their settings. If this file becomes corrupted, it can lead to various issues, including problems with installing dependencies.
Try reinstalling the original addon again. Hopefully, this step works for you! If restoring the Addons33.db file resolves your dependency issues, it suggests that your addon database was likely corrupted. If the problem persists, the issue lies elsewhere.
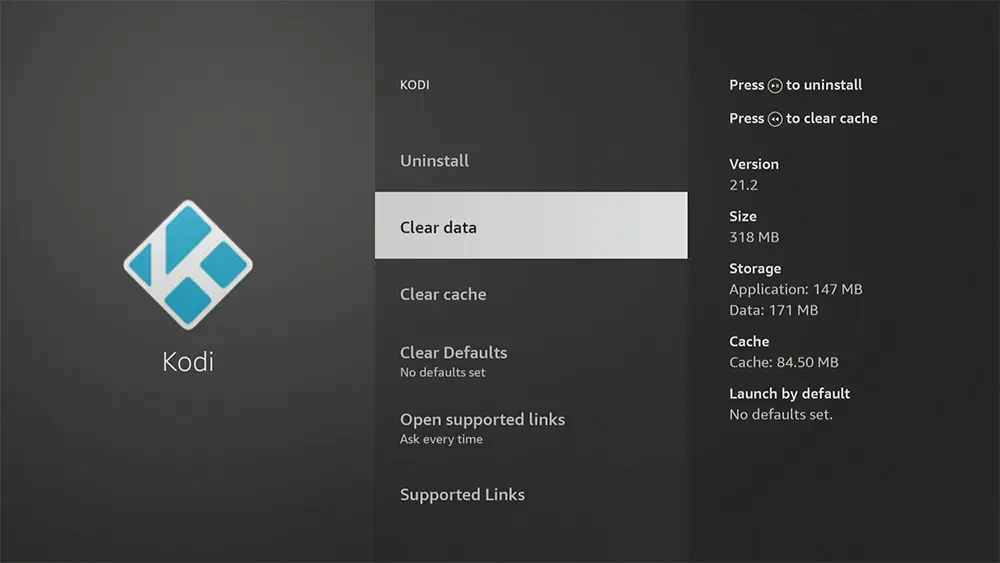
If you’ve diligently worked through all the previous steps and the stubborn Kodi addon dependency error persists, the final option, essentially a factory reset for Kodi, is to clear all its data.
Be warned: This action will erase all your Kodi settings, addons, databases, and configurations, returning it to its initial state as if you just installed it. Only proceed with this if you’re prepared to start over with your Kodi setup completely.
Here’s how to clear Kodi data on popular devices:
Once you’ve cleared the Kodi data, the next time you launch Kodi, it will appear as a brand-new installation. You will need to:
This drastic step should, in most cases, resolve any persistent issues caused by corrupted data or conflicting configurations within Kodi. However, please keep in mind that it requires a complete re-setup of your Kodi environment.
Dealing with a failed Kodi addon dependency can be frustrating, but by systematically working through these steps, you’ll significantly increase your chances of getting things running smoothly again.
Remember to pay attention to any error messages, double-check your network connection, and keep your Kodi installation and addons updated. With a little perseverance, you’ll be back to enjoying your favorite content in no time!
PROGRESS: