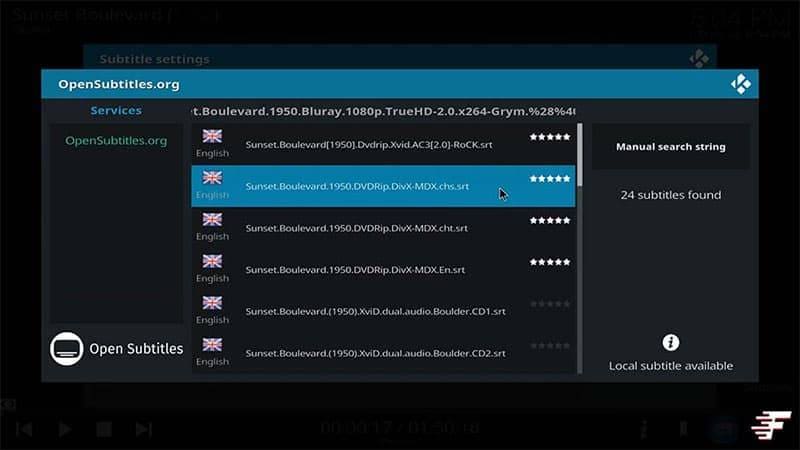
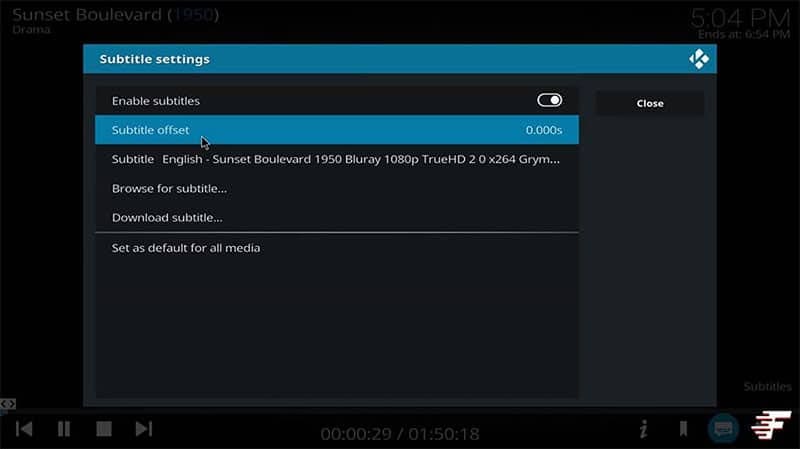
In this guide, you will learn how to add subtitles in Kodi in order to stream movies and TV shows with closed captions. Firstly, we will take a look at how you can install an addon for the world’s largest, completely free subtitles database – OpenSubtitles. Secondly, you’ll learn how to configure and use it. This will markedly enhance your Kodi experience if you want to stream with subtitles.
Kodi can be installed on almost any device e.g. Firestick, Fire Cube, Nvidia Shield, Android box, Chromecast, phones, tablets, PC and more. The Amazon Firestick is unquestionably one of the most widely used streaming devices. However, Kodi cannot be installed from the Amazon app store. In order to install it on a Firestick, it must be sideloaded. By following this guide, you’ll be able to install and use Kodi on any Fire TV device. If you are new to using a Firestick, be sure to also check out my Firestick Beginner’s Guide.
The Amazon Firestick, a top contender in the streaming device market, is particularly popular for its affordability and the ease with which it can be jailbroken. With just a few straightforward adjustments, you can unlock its full potential, making it an attractive option for those looking to break free from traditional cable TV.
Table of Contents
Why Do You Need Subtitles?
Subtitles can become essential, for a surprisingly wide variety of reasons. For example, when you’re streaming content in a foreign language. Subtitles can also come in handy when the audio quality isn’t great, or when you need to turn the audio volume down to avoid disturbing others. Or perhaps you rather prefer to read the subtitles when streaming. Whatever your reason or need for subtitles, following this guide will show you how to achieve it.
How to Add Subtitles to Kodi using OpenSubtitles
OpenSubtitles is presently one of the best, and most popular subtitle addons. It is particularly well-known for having subtitles in a wide range of languages for nearly every movie and TV show you can think of! There’s also a very useful feature that allows users to rate the accuracy and quality of the subtitle file. This is especially helpful to determine which subtitle file is best to use.
Find out how to add the OpenSubtitles addon by following along with the video. Or follow along with the written instructions below instead.
1. Register for a FREE OpenSubtitles Account
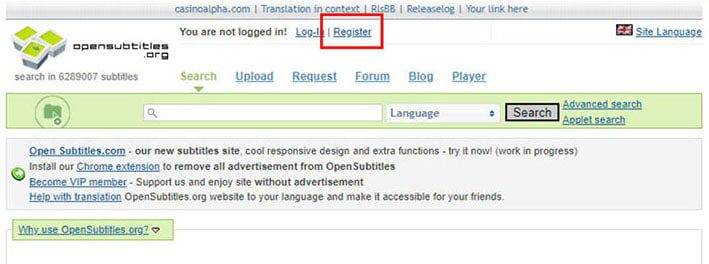
- Open a web browser then go to opensubtitles.org
- Select Register at the top of the screen
- Then create a FREE account by entering a username, email and password
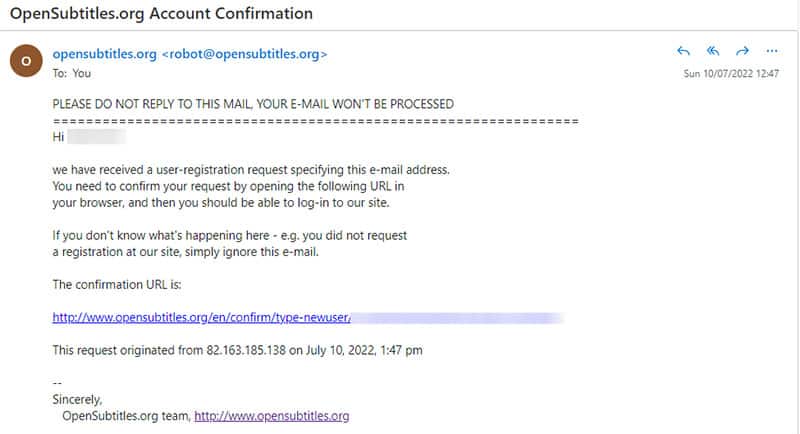
A correct email address must be entered in order to receive an email and confirm your account
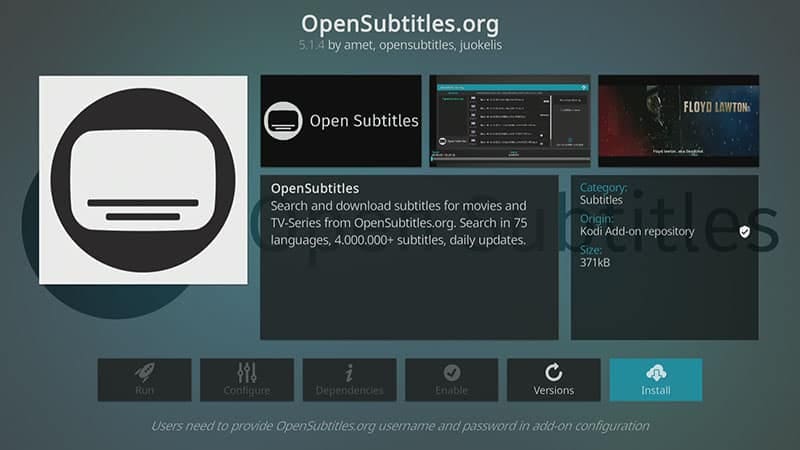
2. Install the OpenSubtitles Addon
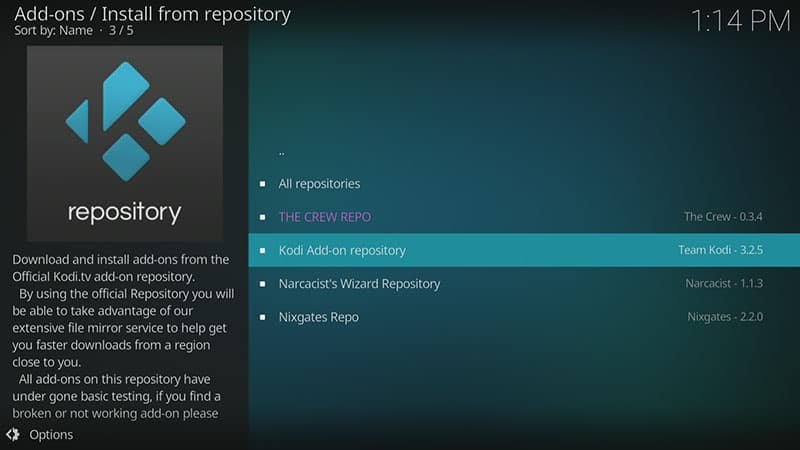
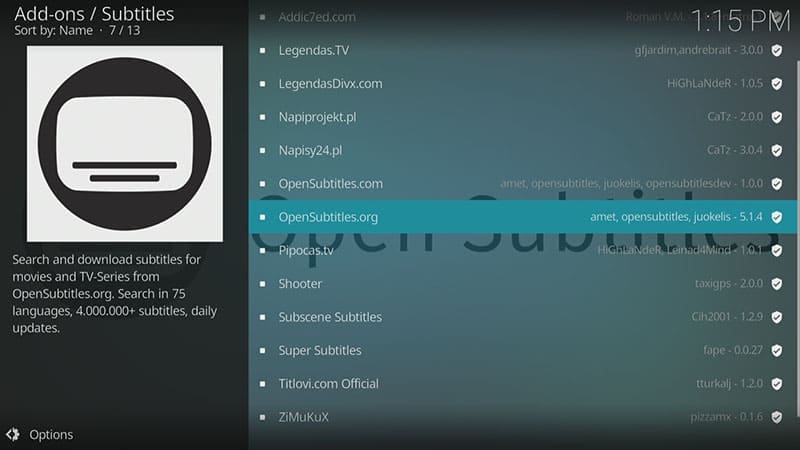
Once you have an account with OpenSubtitles, the next step is to install the OpenSubtitles addon in Kodi. Find out how by following the steps below.
3. Change Kodi Language Settings to use OpenSubtitles as a default
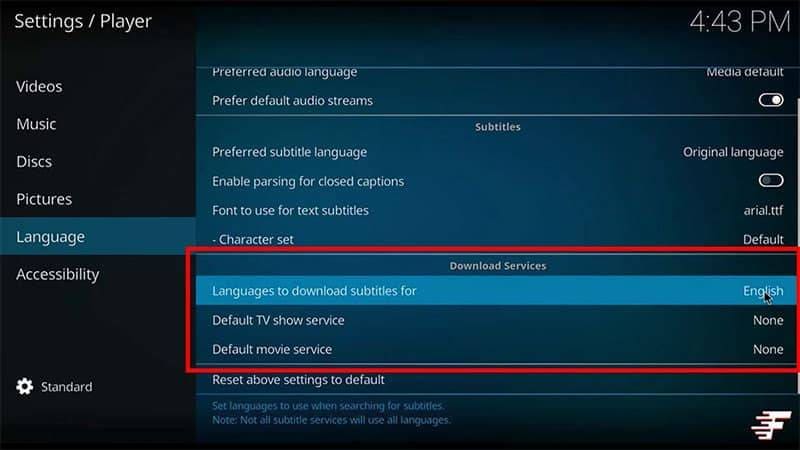
Lastly, you’ll need to change the Language settings in Kodi. This is so that OpenSubtitles is used as the default service to download subtitles from. Find out how by following the steps below.
- Tap down the menu on the left so that Language is highlighted
- Tap to the right then tap down to the Download Services section
- If you want to change your subtitle default language to anything other than English then select Languages to download subtitles for and change it
- Tap down then select Default TV show service
- Then select OpenSubtitles.org
OpenSubtitles is successfully configured!
Is OpenSubtitles legal?
Yes, OpenSubtitles certinaly is 100% legal to use and install. However, it is impossible to verify if unofficial addons you have installed are legal or not. With this in mind, it is unlikely that the majority of links scraped from databases and websites hold the proper licencing for distributing the content. In reality, this means you will be unlawfully streaming copyrighted content. Doing so could get you into legal trouble. Accordingly, you may prefer to use this app with a VPN.
WARNING YOUR IP ADDRESS IS: 216.73.216.77
In order to stream anonymously, stay protected, and unlock the internet, I recommend using NordVPN.
WARNING YOUR IP ADDRESS IS: 216.73.216.77
In order to stream anonymously, stay protected, and unlock the internet, I recommend using NordVPN.
Legal Copyright Disclaimer: As has been noted, streaming copyrighted content is unlawful and could get you into legal trouble. On account of this, we do not condone the streaming of copyrighted content. Therefore, check your local laws for streaming content online before doing so. Consequently, the information on this website is for general information and educational purposes only.
How to Add Subtitles to Kodi when Streaming
Now that you have successfully setup OpenSubtitles, you can now open subtitles for any movie or TV show. Find out how by following the steps below.
If you have any issues with subtitles being out of sync with the audio, you can correct it by following the steps below.
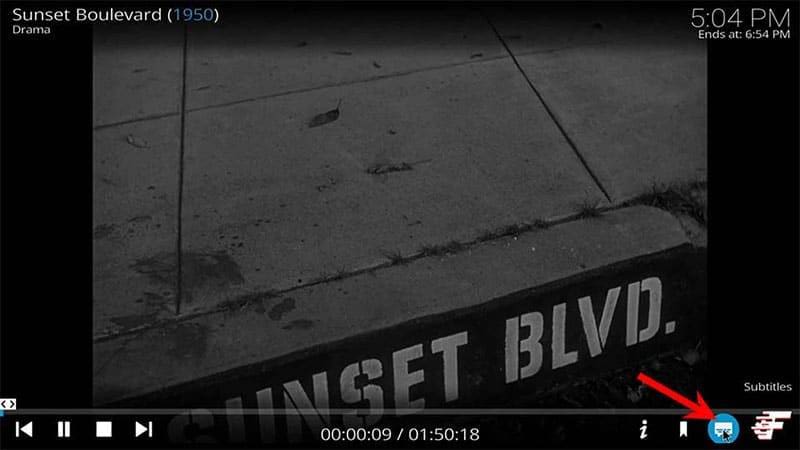
- Press the Select button on your remove to open playback options
- Then select the Subtitle (or closed caption) icon in the bottom right of the screen
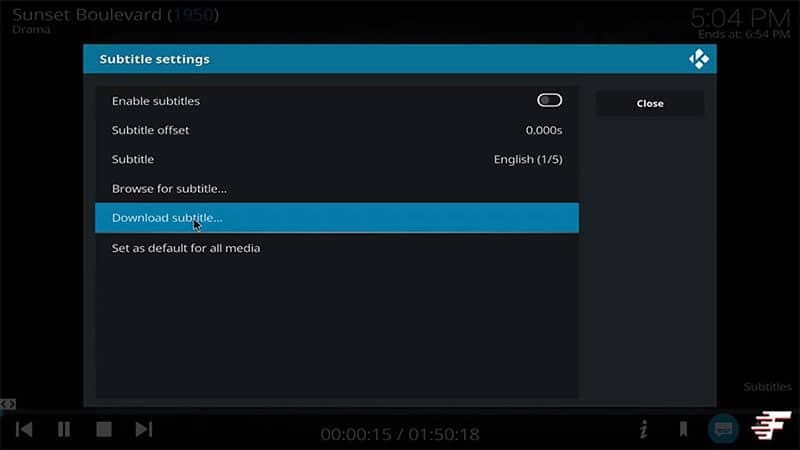
- Select Download Subtitle
- Then choose a different subtitle file than you used previously
- If subtitles are still out of sync then after you select the Subtitle icon choose Subtitle offset and manually adjust the timing
Subtitles are now in sync!
Wrapping Up
By following this guide, you should now be able to add and read subtitles in Kodi. OpenSubtitles is one of the biggest and best providers for subtitles. It offers good quality files as well as subtitles that are (mostly) in-sync. Of course there are other subtitle providers to choose from such as Subscene that you can select as a default from the Language settings. Try it out and see what you think! If you need further help, select from one of the following options.

