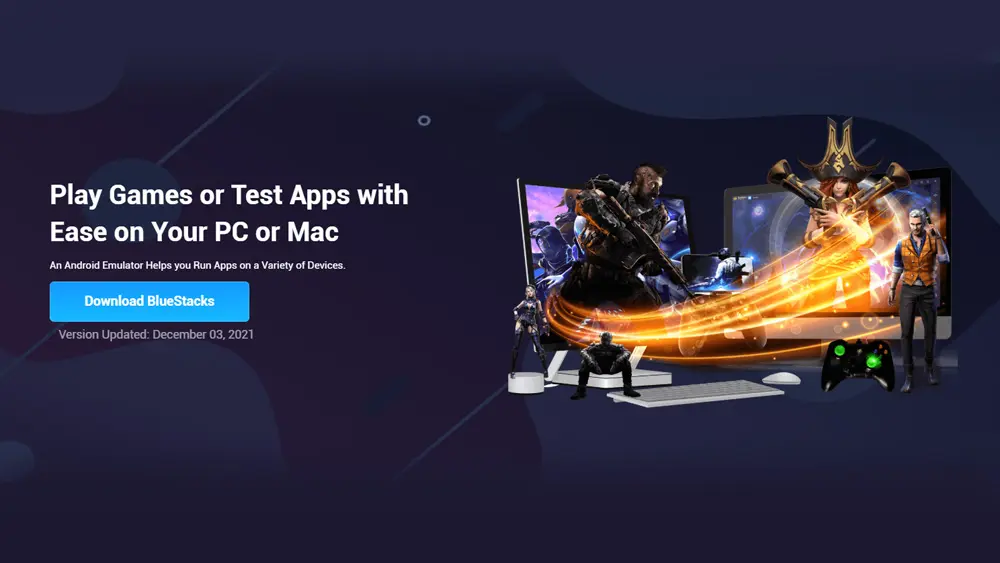


The desire for larger screens has fuelled the popularity of PC Android emulators, with BlueStacks standing out as a top choice for running Android applications on desktops. Known for its versatility and extensive features, BlueStacks is often called the “#1 App Player” and boasts over 100 million registered users.
This guide is a comprehensive resource for installing and using Bluestacks on Windows and macOS. Whether you’re a gamer seeking better controls, a productivity enthusiast running mobile apps, or just curious about Android emulation, we’ll cover everything from installation to advanced optimisation and troubleshooting. By the end of this guide, you’ll be ready to maximise your Android experience on your PC with BlueStacks.
BlueStacks is a powerful application that emulates the Android operating system on both Windows and macOS computers. When you launch BlueStacks, it creates a virtual environment that closely resembles an Android device, allowing you to install and run Android apps and games directly on your PC.
This functionality relies on virtualisation technology, which uses hardware-assisted features in modern CPUs to enhance emulation performance. As a result, you enjoy a smooth and responsive experience, even with demanding applications and games. Essentially, virtualisation enables the operation of one operating system within another, creating a separate space for Android within your existing OS. BlueStacks translates touch inputs into keyboard and mouse actions, effectively mimicking a real Android device.
Additionally, BlueStacks offers a multi-instance feature, allowing you to run multiple Android apps simultaneously or multiple instances of the same app. Introduced in BlueStacks 2.0 in December 2015, this capability enhances multitasking. For example, you can enjoy a game in one window while chatting in another. Overall, this feature significantly benefits users looking to engage with various Android experiences at once on their PC.
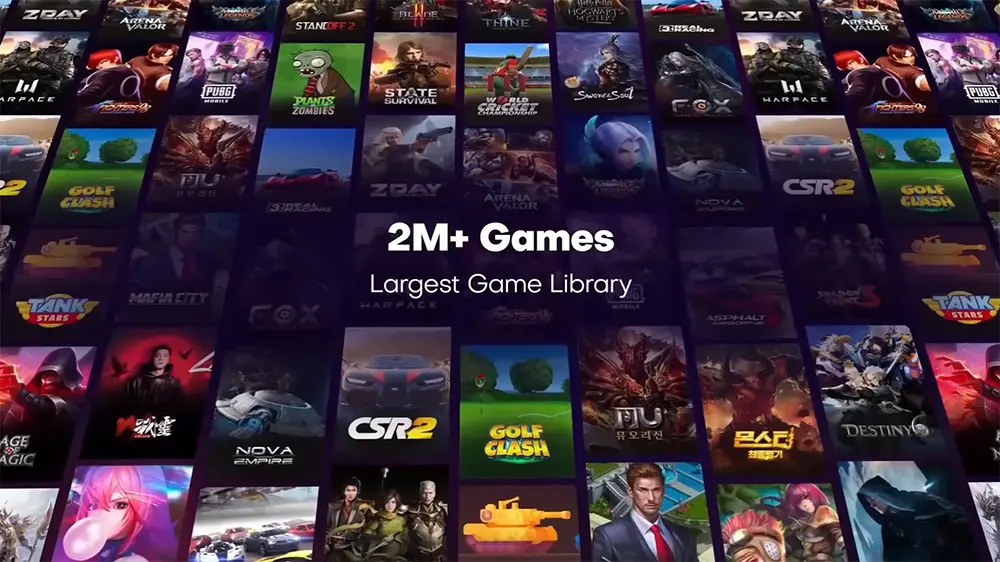
BlueStacks offers access to a vast selection of Android applications and games via the Google Play Store. The BlueStacks blog states that there are “over 2 million apps available on the Google Play Store.” This extensive library enables users to enjoy mobile-exclusive content on their computers.
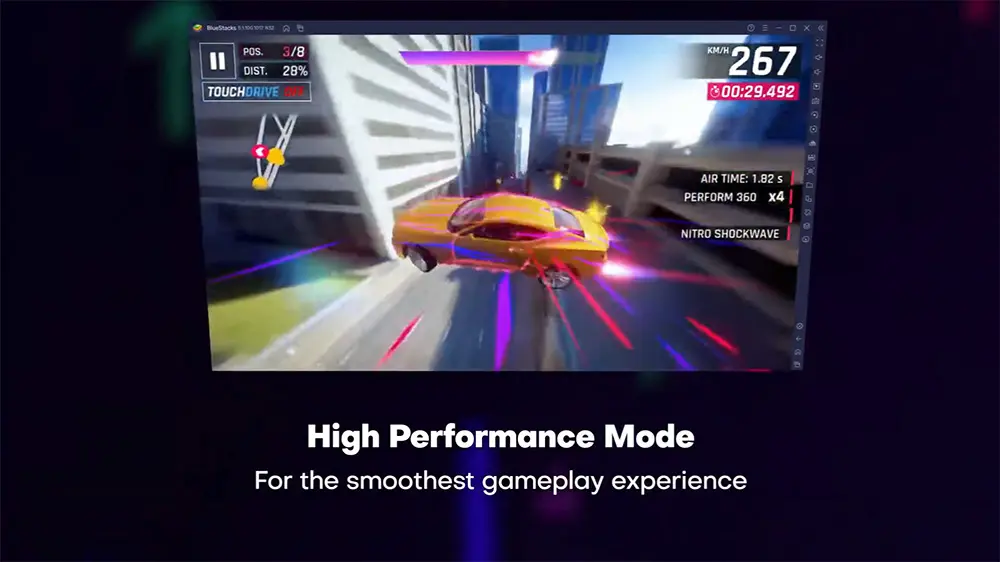
BlueStacks can enhance performance, particularly for demanding applications and games. For instance, BlueStacks 5 claims to provide “high performance and improved FPS.” Its virtualisation technology optimises performance, resulting in smoother gameplay and higher frame rates.
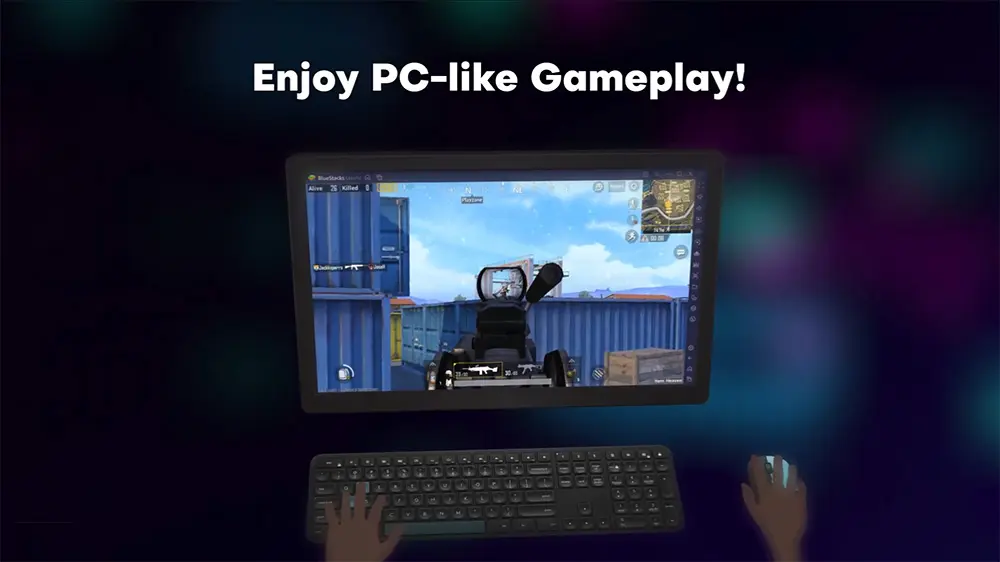
BlueStacks allows users to engage with Android apps using a keyboard and mouse, providing enhanced accuracy and comfort, particularly in gaming. The official BlueStacks website emphasises “superior performance and precise game controls with a keyboard, mouse, and gamepad.”
The larger screen of a PC monitor improves user experience by enhancing visibility and creating a more immersive environment. Applications are easier to use on widescreens compared to smartphones.
BlueStacks enables users to run Android apps in conjunction with standard desktop applications. According to the BlueStacks blog, it allows users to “seamlessly run both Android apps and games on one part of the screen, while other applications, like web browsers, can be displayed on separate areas simultaneously,” utilising the Snap Layouts feature in Windows 11.
BlueStacks provides a safe environment to test new or potentially risky applications without affecting your primary mobile devices.
The synchronization with mobile devices through Google account integration allows users to access installed apps and their game progress across different platforms.
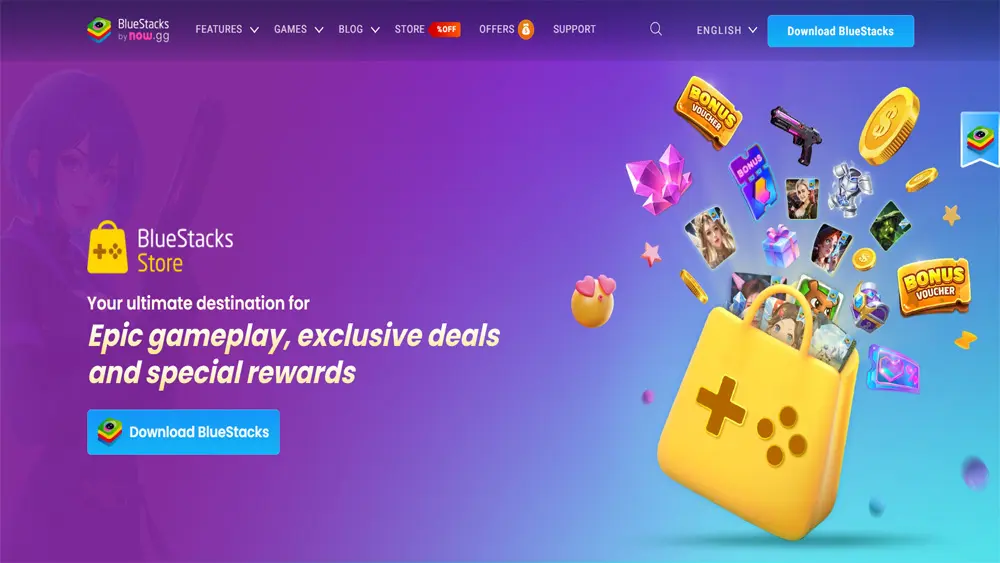
The platform features the BlueStacks Store, offering access to exclusive games, rewards, and in-game deals.
Utilising familiar Android productivity apps on a PC with a keyboard and mouse can significantly enhance workflow for various tasks.
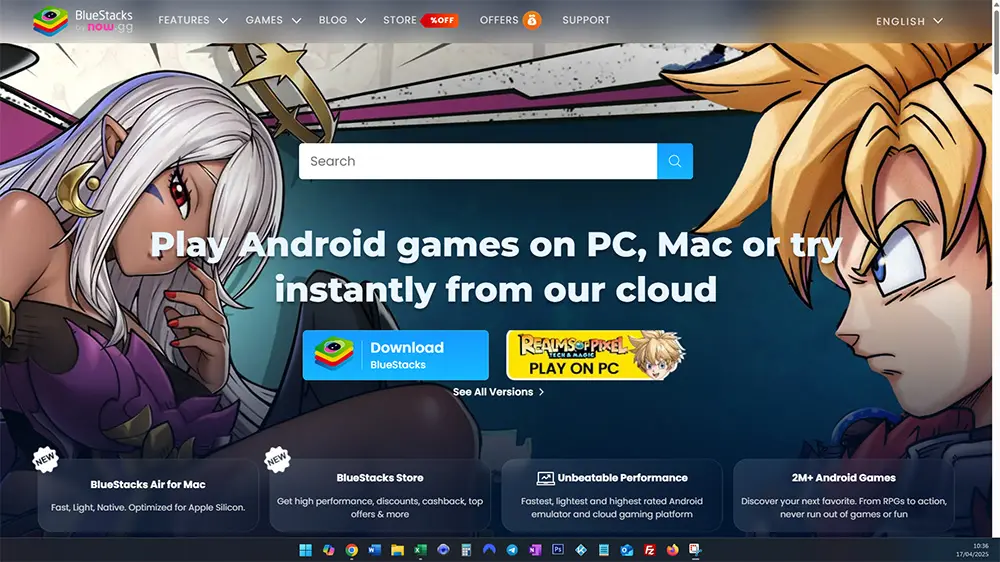
BlueStacks offers multiple versions, such as BlueStacks 5, BlueStacks X, and BlueStacks Air, each catering to specific needs and accommodating various operating systems. BlueStacks X focuses on cloud-based gaming, while BlueStacks Air is optimised for macOS, providing support for Apple Silicon Macs. The primary emulator for Windows is BlueStacks 5.
Before installing BlueStacks, ensure your computer meets the system requirements.
Installing BlueStacks on Windows is straightforward:
Installing BlueStacks Air on macOS involves these steps:
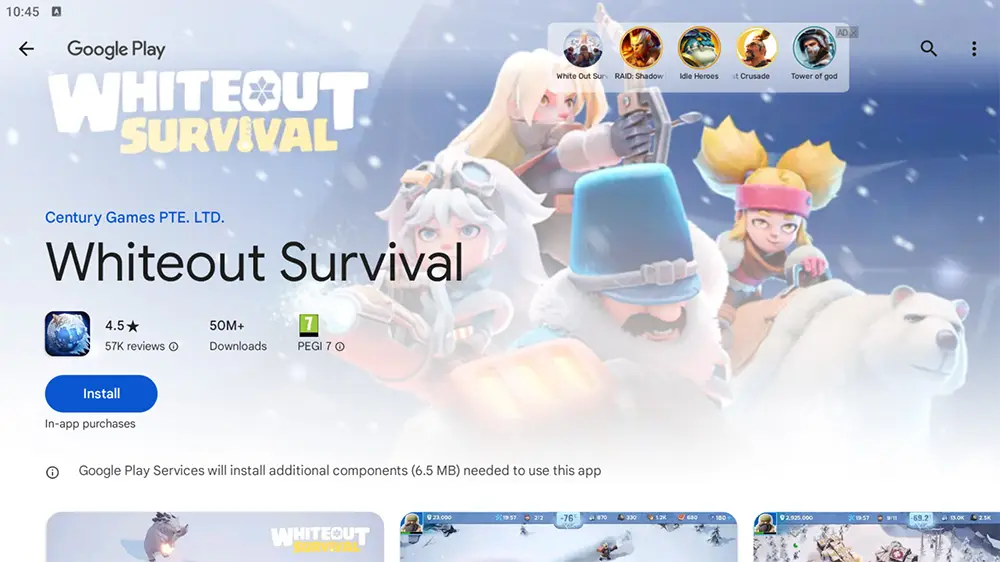
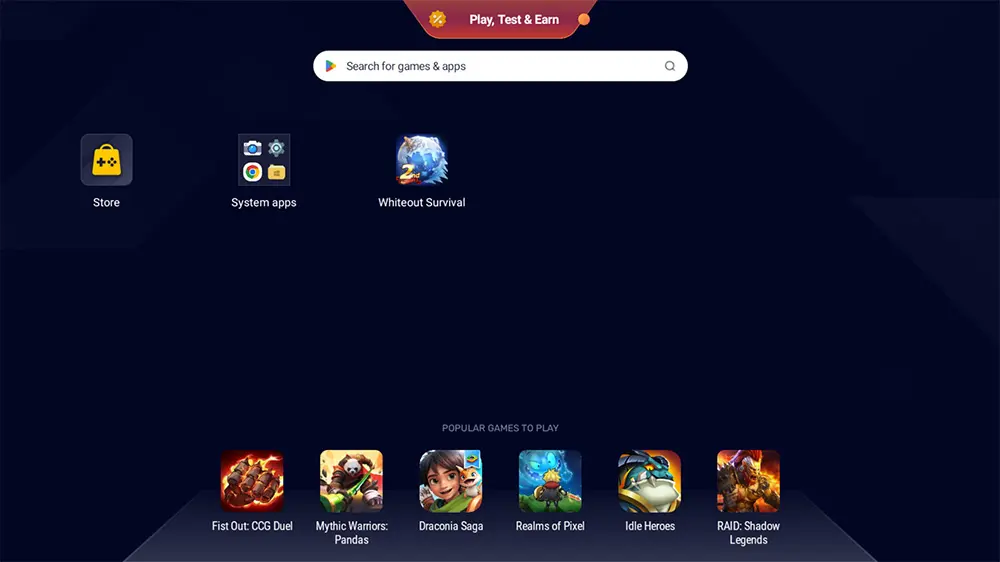
After installing BlueStacks, you can install Android apps via the Google Play Store. Find the Play Store icon in the System apps folder on the BlueStacks home screen. Sign in with your Google account.
Once signed in, browse or search for apps and games using the familiar Google Play Store interface. Click on an app to view its details, then click Install.
After installation, the app icon will appear on the BlueStacks home screen or in My Games, allowing you to launch it easily. You can then use the app with your PC’s keyboard and mouse.
BlueStacks recommends using its integrated store, the BlueStacks Store, for potentially better compatibility. If you’ve previously purchased apps with your Google account, you can install them on BlueStacks without repurchasing, provided you use the same account.
BlueStacks offers a couple of convenient ways to install APK files. You can easily locate and click the Install APK button on the BlueStacks interface’s sidebar. This will open a file explorer, allowing you to browse your computer for the desired APK file and select it for installation. Alternatively, you can drag and drop the APK file directly onto the BlueStacks window, and the installation process will usually begin automatically.
Looking for a wide variety of APK files to explore? Use our Downloads page to discover and download numerous APKs across different categories. Find free movie apps for entertainment, catch live sports action with dedicated apps, enhance your device with valuable tools, immerse yourself in anime with specialised apps, and much more – all ready to be installed on your PC through BlueStacks!
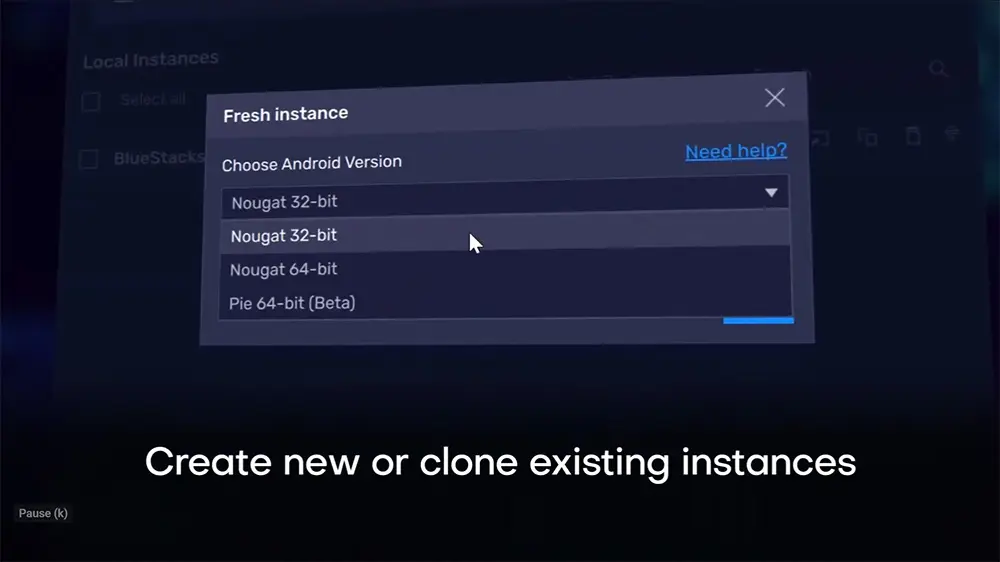
If an APK file fails to install, a helpful troubleshooting step is to try installing it on a different BlueStacks instance. The BlueStacks Multi-instance Manager allows you to easily create and manage multiple instances, including 32-bit and 64-bit versions. Switching to a different instance can often resolve compatibility issues and allow you to install your chosen app successfully.
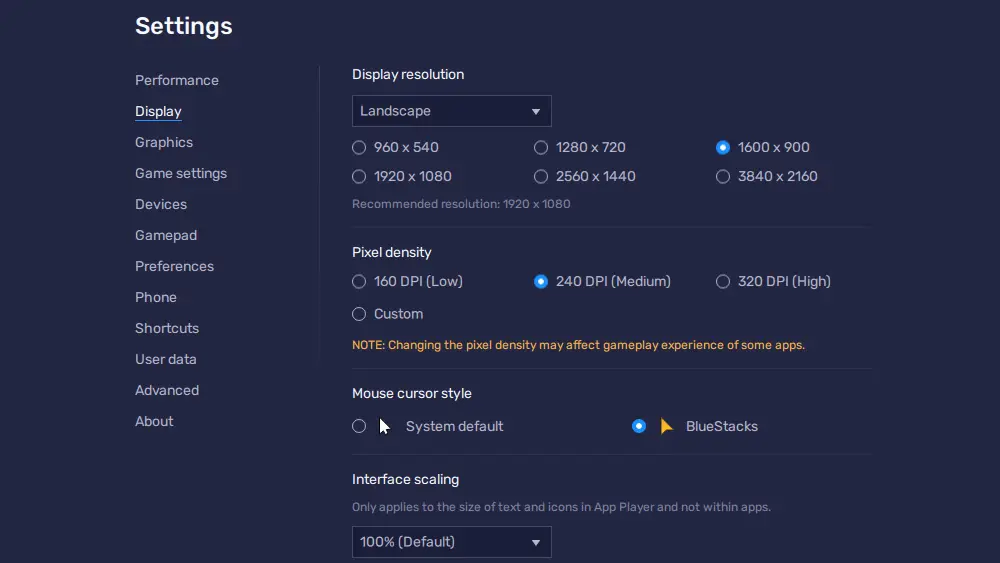
Adjust the display resolution in BlueStacks settings for better visual clarity. Higher resolutions offer sharper images but can impact performance. BlueStacks recommends specific resolutions for different modes (Landscape, Portrait, Ultrawide, Custom).
Adjust DPI (pixel density) to change the size of UI elements. Find a balance between visual quality and performance suitable for your monitor and PC.
Manage RAM and CPU core allocation in BlueStacks settings (“Performance” tab) for smoother operation. Allocate more resources for demanding apps (e.g., 4 Cores and 4 GB RAM). Ensure virtualisation is enabled for allocating more than one CPU core. Restart BlueStacks after changing the memory allocation. Allocate resources based on your PC’s RAM and the apps you use. 64-bit instances can utilise more RAM.
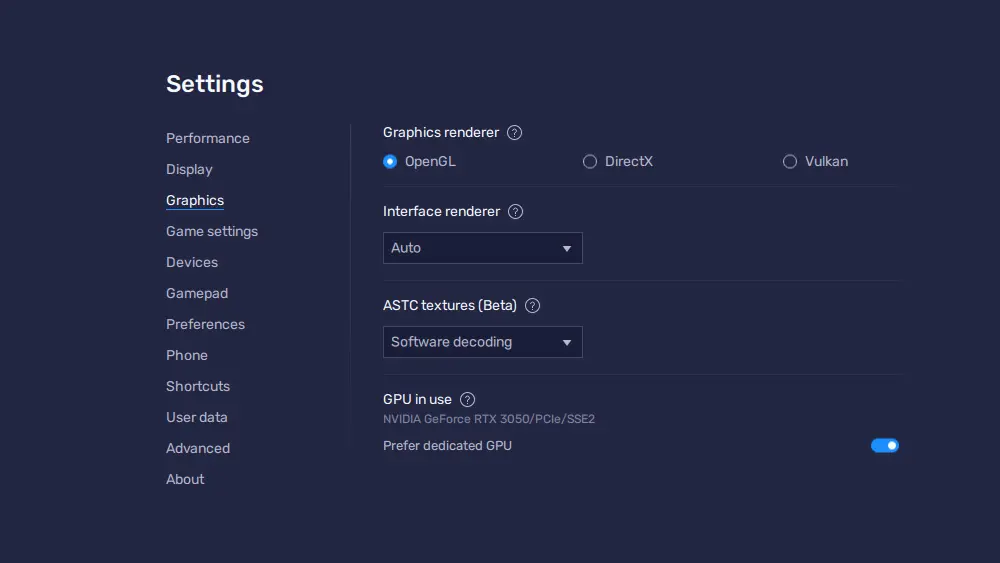
Configuring and updating your graphics driver is essential for maximising the performance and visual quality of BlueStacks. To access the graphics settings, navigate to the Settings menu and select Graphics. BlueStacks offers two graphics engine modes: Performance and Compatibility. While “Performance” is generally recommended for optimal use, “Compatibility” may be necessary for certain applications. NOTE: This option will not be available on BlueStacks 5 Pie 64-bit.
When choosing the Graphics renderer, you can select from OpenGL, DirectX, and sometimes Vulkan. It’s a good idea to experiment with these options to determine which works best for your system and the apps you are using. The Interface renderer also provides options like Auto, OpenGL, or DirectX, which can help resolve graphical issues.
If you have a dedicated graphics card, make sure to enable the Prefer dedicated GPU option. For ASTC textures, which enhance visual quality, BlueStacks provides three options: Hardware decoding, Software decoding, and Disabled. Hardware decoding is preferred if your GPU supports it.
Keeping your Intel, AMD, or NVIDIA graphics drivers up to date is crucial for system stability and performance. BlueStacks’ support section often provides links to download the latest drivers.
BlueStacks offers three Performance Modes to optimise resource usage: Low Memory, Balanced, and High Performance.
Remember to restart BlueStacks after changing the performance mode. You can apply a mode to all running instances, allowing for a convenient way to adjust resource usage without manual adjustments.
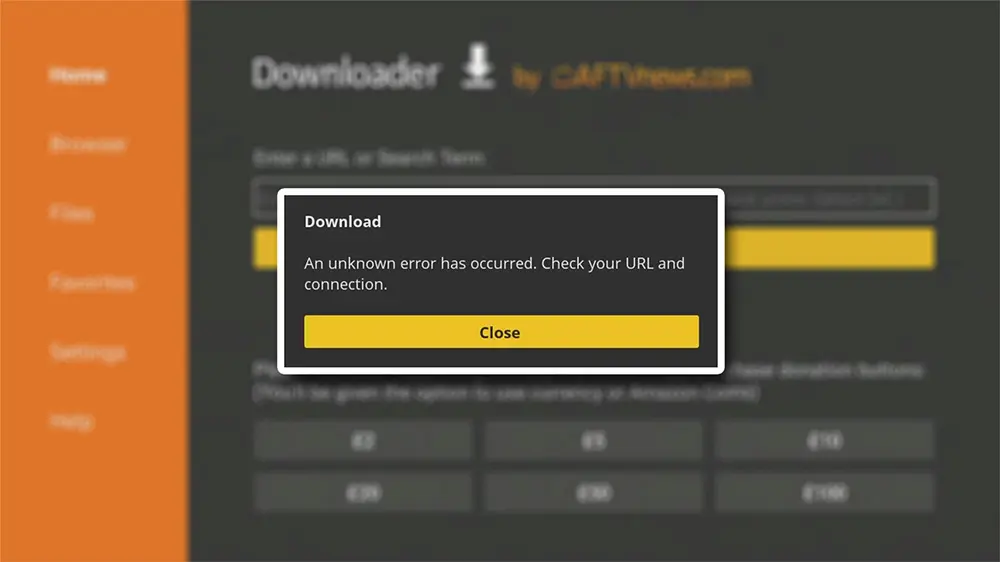
While BlueStacks generally runs smoothly, you might occasionally face app installation issues. Understanding common errors and their solutions can be helpful.
Many app installation issues on BlueStacks stem from compatibility problems with either the Android version or the device profile. Here are some tips to help resolve these issues:
By following these steps, you may be able to overcome installation challenges and improve your app experience on BlueStacks.
The world of Android emulation is constantly evolving, and BlueStacks regularly releases new features, improvements, and bug fixes to enhance your experience. It’s a good idea to periodically check the official BlueStacks website and their blog to stay informed about the latest updates. These resources often announce new releases, detail the latest features, and provide helpful guides and tips.
For more direct interaction with the BlueStacks community and the development team, consider joining the official BlueStacks Discord group. This is a fantastic place to connect with other users, share tips and tricks, ask questions, and get real-time updates on new features and improvements directly from the source. You can usually find a link to the Discord group on the BlueStacks website or within the application itself. By staying connected through these channels, you can ensure you’re always getting the most out of your BlueStacks experience and are aware of all the exciting new developments.
Recent enhancements for BlueStacks include:
For the latest updates, check the official BlueStacks website and blog.
Understanding the different versions of BlueStacks is essential for selecting the one that best meets your needs.
When choosing a version, consider your operating system and whether you prefer local app usage or cloud gaming.
While BlueStacks is popular, other Android emulators are available, offering similar functionality.
There are several alternatives to BlueStacks for running Android applications on PC, including Nox Player, LDPlayer, and MEmu. Many users find MEmu to be faster and more reliable than others. These emulators typically offer features such as multi-instance support and keyboard mapping for easier gameplay.
It’s important to note that the Android Studio emulator is primarily intended for developers.
Remix OS Player was another option that was available in the past, but its current status may vary.
Cloud-based solutions like Google Play Games Beta for PC are also emerging, allowing users to play Android games on Windows without needing local installation.
When selecting an emulator, it’s important to consider factors such as performance, ease of use, and resource consumption. Many emulators provide similar core features, including multi-instance support and keyboard mapping. However, some may offer unique optimizations tailored to specific games or systems.
The best emulator for you will depend on your individual needs and preferences. It is advisable to research various emulators and try them out to find the one that best suits your system and usage.
Enhance your BlueStacks experience with these tips and tricks for customising controls, optimising performance, and managing multiple instances.
You can customize game controls in BlueStacks through the Game Controls menu, which you can access by pressing Ctrl+Shift+A or clicking the keyboard icon.
The Controls Editor allows you to drag and drop virtual controls and assign actions to your keyboard or mouse. BlueStacks offers a variety of control types tailored for different game genres. You can also adjust the visibility of on-screen controls and import or export your custom control schemes.
Many popular games come with predefined control layouts. Customising your controls can significantly enhance your gameplay experience.
BlueStacks’ Multi-Instance Manager allows users to create and manage multiple emulator instances. You can access it through an icon or a shortcut. This feature enables you to run multiple apps or games simultaneously or play the same game with different accounts. You can create new instances or clone existing ones as needed.
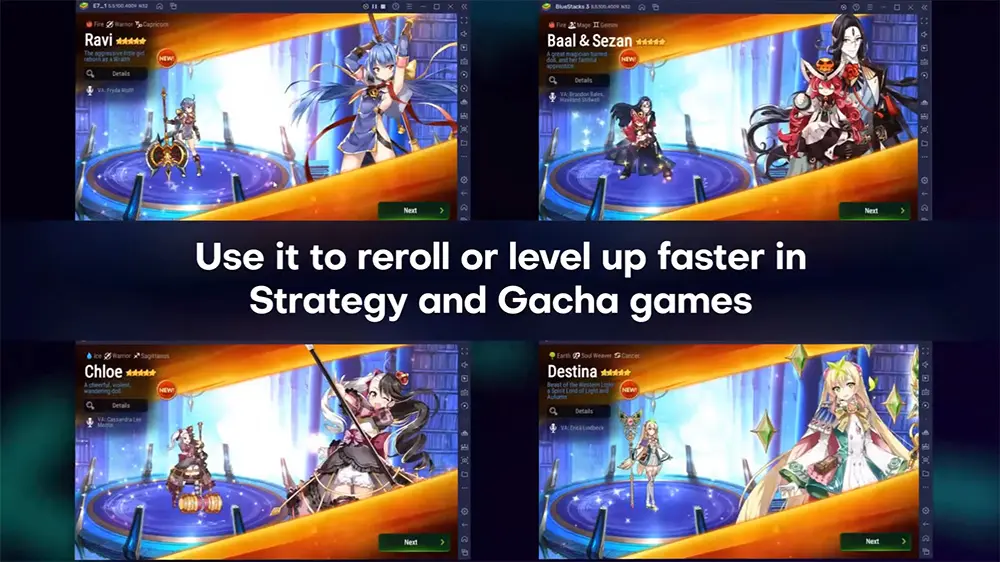
The Multi-Instance Sync feature enhances efficiency by synchronising actions across instances in real-time, which is particularly useful for tasks like rerolling in gacha games. Management of the instances is made easy with options to sort, rename, and delete them.
Additionally, Eco Mode optimises PC resource usage by reducing CPU and GPU consumption in background instances. For improved organisation, you can also arrange instances into folders.
BlueStacks is a powerful platform that allows you to run Android apps and games on your PC or Mac. It provides access to a vast library of mobile content, along with enhanced controls and improved performance.
This guide will walk you through installing BlueStacks, managing apps, optimising settings, troubleshooting issues, and keeping up with the latest features.
Whether you are a gamer or just looking to increase productivity, BlueStacks offers a user-friendly solution for exploring the Android ecosystem on your computer.
PROGRESS: